Command line quickstart
Learn Ryax following this step-by-step crash course. Go ahead, we are in a hurry!
Simple Data Source
To create a module in Ryax we will use the Ryax CLI. So, make sure you go through the Ryax CLI installation before proceeding.
The smallest workflow you can have in Ryax would typically have two modules:
one data source and one data processor. So, to start, we will create a single source module
that we will use to trigger one single execution of our processor. Start by creating a folder one-run to organize your module files.
A nice logo to start.
Before going into the code find a nice logo.png file, caution, it
needs to be a small file, 400KiB max, and copy to that folder.
You can find a free example here. Your folder tree must look something like this:
one-run/
  |- logo.png
Declare python3 dependencies.
In a typical python3 program, you might need to install some dependencies
for your program to work. A common approach is to have a file requirements.txt
with a list of all modules needed.
However, in the current source module example, all the
libraries are already provided by default so we can just create an empty blank
file with the name requirements.txt.
Note that the name of the file is requirements.txt plural.
Windows users must be careful because windows sometimes add a .txt resulting
in a requirements.txt.txt.
Make sure to display your file extensions or check the file properties to be sure.
Now, your folder tree must look something like this:
one-run/
  |- logo.png
  |- requirements.txt
Where I write my python3 code?
run.py is the file to write your python code. Let us just say for now your
source module code must implement a class that inherits from RyaxGateway. Your
class is called on main and should have a handler(self) function as below. Note
that function handler is asynchronous and has no input parameter besides the
class reference. In this particular case, we are just creating an
execution by calling await self.send_execution({}) we are injecting no data so
we use an empty python dict {}.
#!/usr/bin/env python3
from ryax_gateway.gateway import RyaxGateway, main

class TestGateway(RyaxGateway):
    async def handler(self):
        await self.send_execution({})

if __name__ == "__main__":
    main(TestGateway)
Now your folder tree must look something like this:
one-run/
  |- logo.png
  |- requirements.txt
  |- run.py
Not yet ready, we need to describe the Ryax module.
To describe your module, you need a ryax_metadata.yaml file that
contains the description of your module, input list, output list,
and kind. In this simplest example, we define:
kindwhich isGatewaysfor a source module;idunique name of the module;human_nameto explain the module purpose on Ryax UI;typewhich isgatewayfor a python3 source;versionfixed to1.0;logoa reference to filelogo.png.
The file ryax_metadata.yaml follow the yaml standard
that is equivalent to json in many aspects. The yaml standard is
out of the scope for this crash course, however you can always get
updated info on the yaml wikipedia’s page.
So the minimal content of our ryax_metadata.yaml to describe the
one-run source module is:
apiVersion: "ryax.tech/v1alpha5"
kind: Gateways
spec:
  id: one-run
  human_name: Testing - Run one execution
  type: gateway
  version: "1.0"
  logo: "logo.png"
Copy the content and save it in a ryax_metadata.yaml file.
Finally, we have all to create our source module.
So now your source module one-run must have 4 files:
logo.pngthe image to show it pretty in the UI;requirements.txta list of python dependencies;ryax_metadata.yamldescription of the Ryax module itself.handler.pythat declare python3 code;
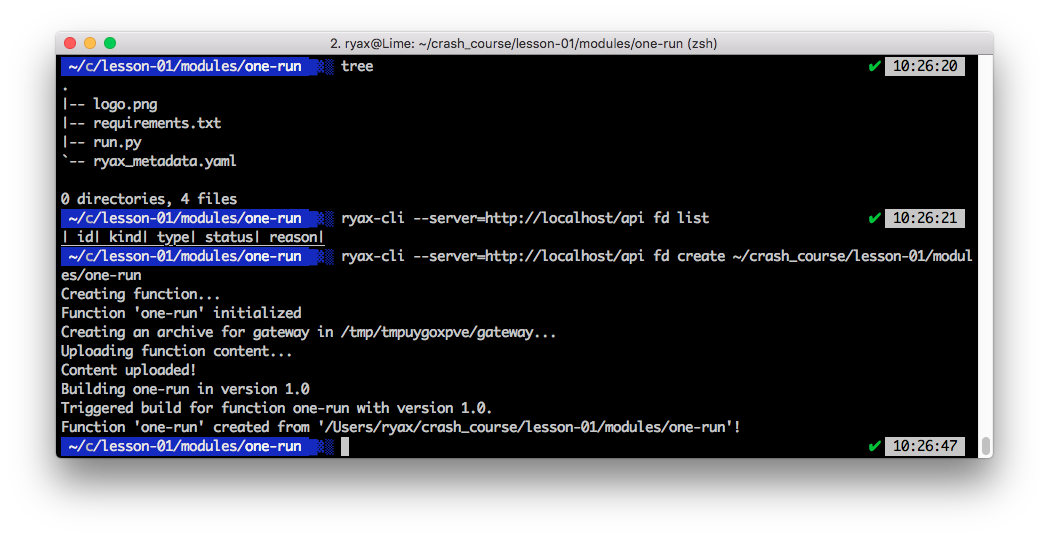
The typical structure for a Ryax module is in a folder. We have
an example on the folder one-run below.
one-run/
  |- logo.png
  |- requirements.txt
  |- run.py
  `- ryax_metadata.yaml
To import the module we can use use Ryax CLI. You need
to provide the path of your one-run folder, assuming
one-run folder is inside the current folder the command
below should work if you change http://localhost/api to
your Ryax API URL. ryax-cli automatically verifies
if it needs to authenticate and prompt for your user and
password if needed.
ryax-cli --server=http://localhost/api fd create ./one-run
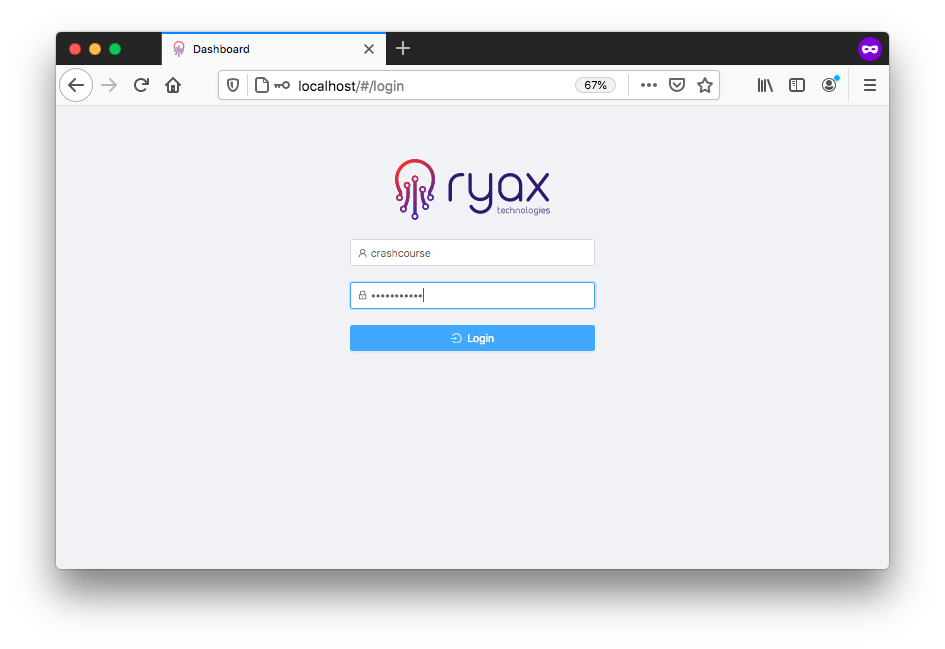
If you see a success message means your function now is available on Ryax UI. Go to Ryax UI on your browser; a login screen like below should show up.
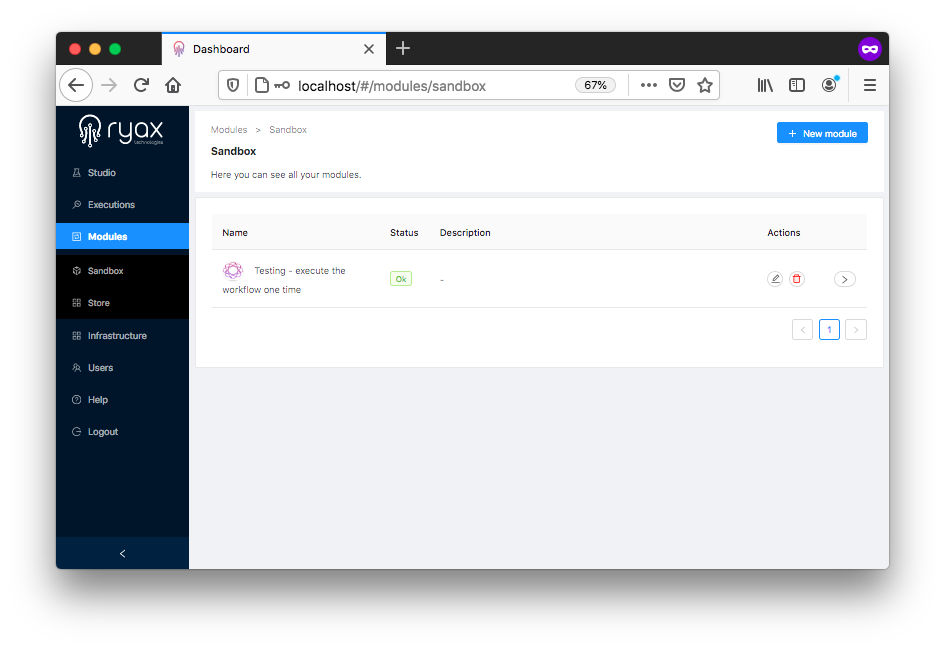
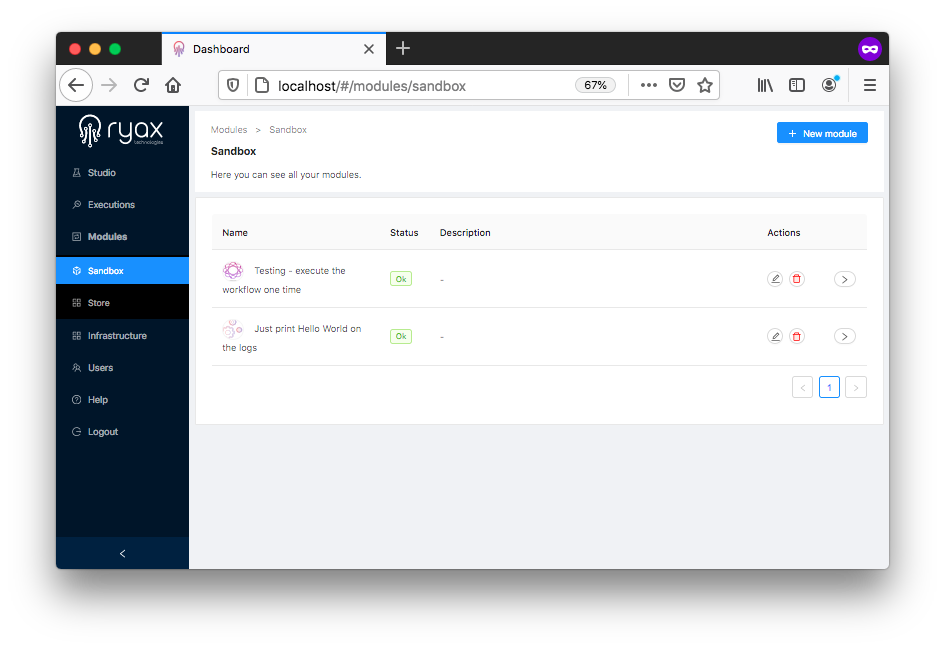
In the left, select modules. You should see you newly created one-run
module as below.
Simple Data Processor
Cool! if you have got this far you should have already a one-run source
module available on Ryax UI. Congratulations! Before we can have our
first workflow, we still need one more module that does some processing.
So, we will build a simple module, no input or output, that
just show a message “hello world” on the logs.
Start by creating a new folder hello-world that stores the files for
your hello-world module. This folder contains 4 files. However,
to explicitly distinguish between processors and sources the python3 code is
now on file handler.py which is the equivalent of the run.py file for sources.
hello-world/
  |- requirements.txt
  |- handler.py
  `- ryax_metadata.yaml
requirements.txt is a blank
file because we don’t need extra dependencies for this example. The content
of handler.py should just define a handle(input_param). This function
has one input parameter which is an empty python dict in this example.
Our function will just print the message Hello World on the logs. Finally,
the function returns an empty dictionary.
def handle(input_param):
    print("Hello World")
    return {}
One file to go, we need to define the content of ryax_metadata.yaml. The content
of the file is very similar to the source module we created earlier. However, now we
have kind set to Functions and type set to python3 required so this is python3
processor module. We also change id and human_name accordingly to what this module do.
Note: we explicitly have empty lists of inputs and outputs.
apiVersion: "ryax.tech/v1alpha5"
kind: Functions
spec:
  id: hello-world
  human_name: Just print Hello World on the logs
  type: python3
  version: "1.0"
  inputs: []
  outputs: []
Done! if you got this far, you have all the files you need to create your module hello-world.
hello-world/
  |- logo.png
  |- requirements.txt
  |- handler.py
  `- ryax_metadata.yaml
To create this module use Ryax CLI fd create ./hello-world as below. Remember to
specify the correct path for your hello-world folder and also change http://localhost/api
to the correct path of your module.
ryax-cli --server=http://localhost/api fd create ./hello-world
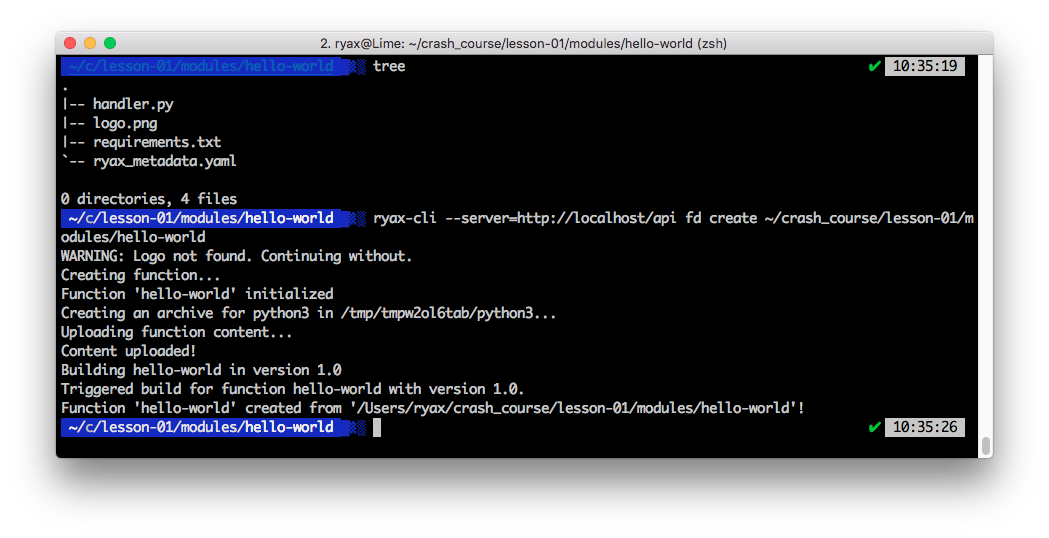
You can check that the module was created on the UI.
My First Workflow
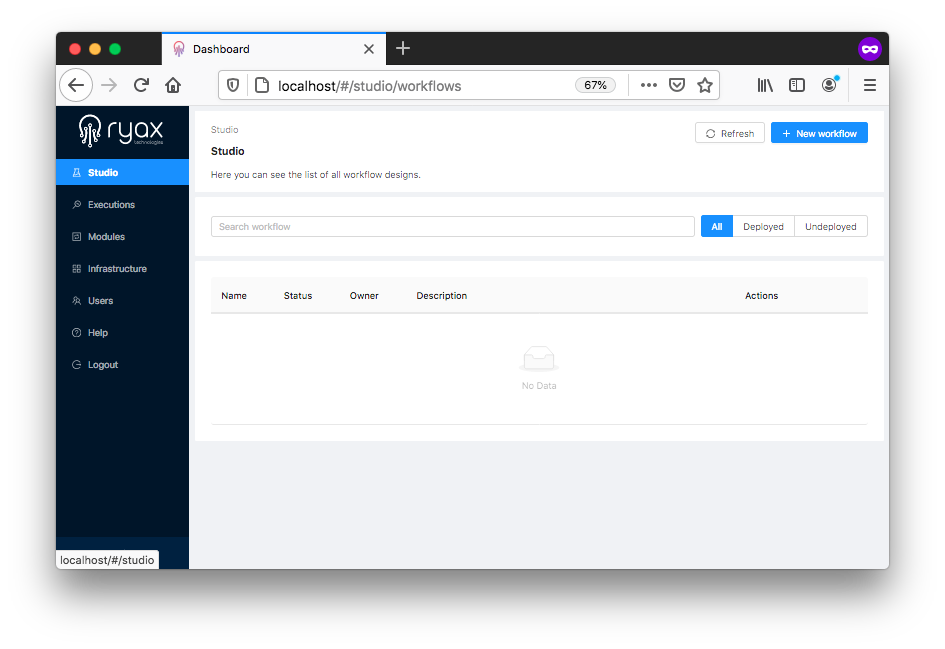
Create a new workflow on Ryax UI by going to Studio -> + New Workflow.
Fullfil name and description and save.
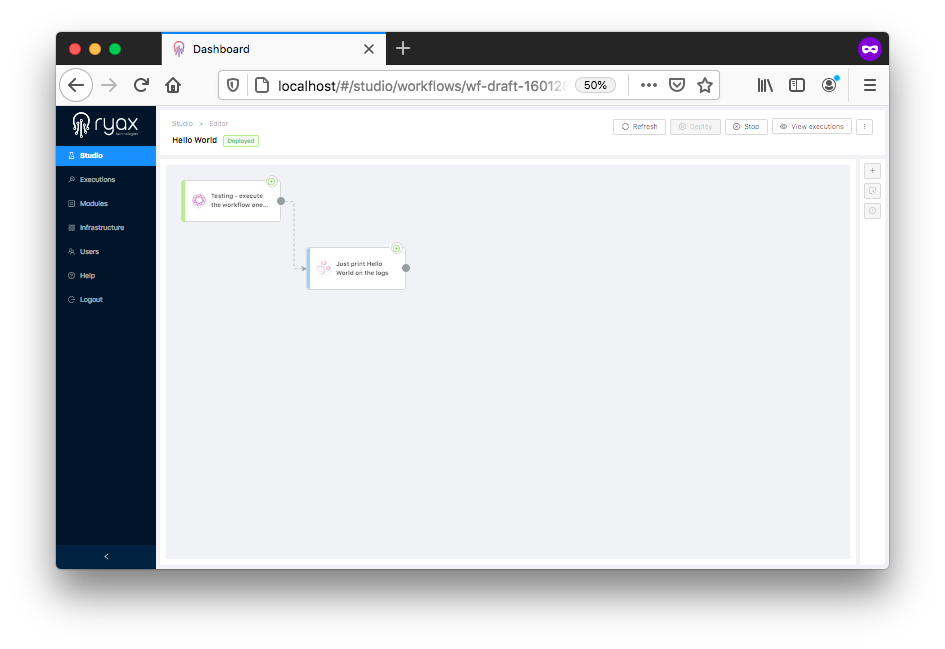
Drag-and-drop module one-run from the right tab on the left.

Repeat the same with hello-world module.

Connect both modules by dragging from the one-run module to the module hello-world.

Now, click on the “refresh” button until the state of the workflow change from INCOMPLETE to OK.
This means
the workflow is a correct Ryax application and can be deployed. To deploy the workflow,
click on the Deploy button on the top right. The state of the workflow should, after clicking on “refresh”,
change from OK to DEPLOYING, refresh and wait until it reaches the DEPLOYED state.
Now that the workflow is in DEPLOYED state, click in View executions on the top right.
You now should see a list of executions as below.
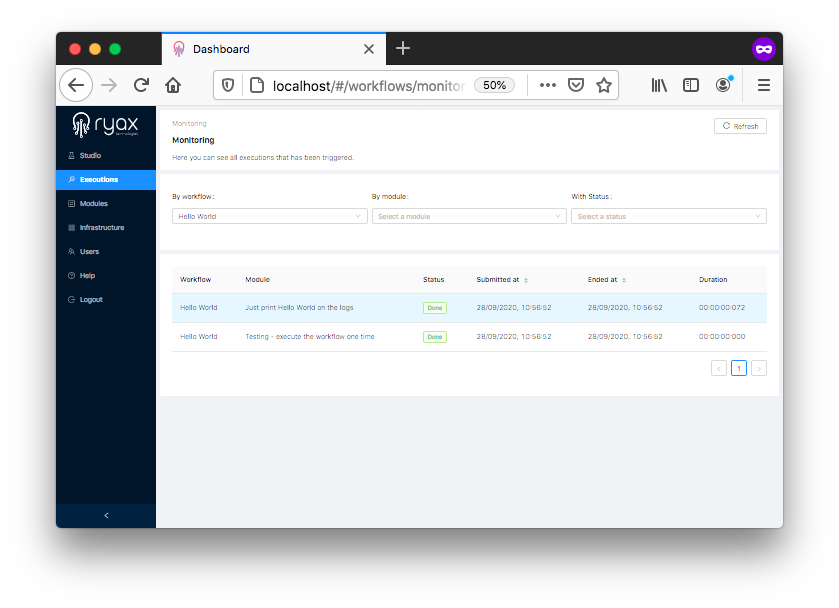
Clicking on the Just print Hello World on the logs and you should see your message as below.
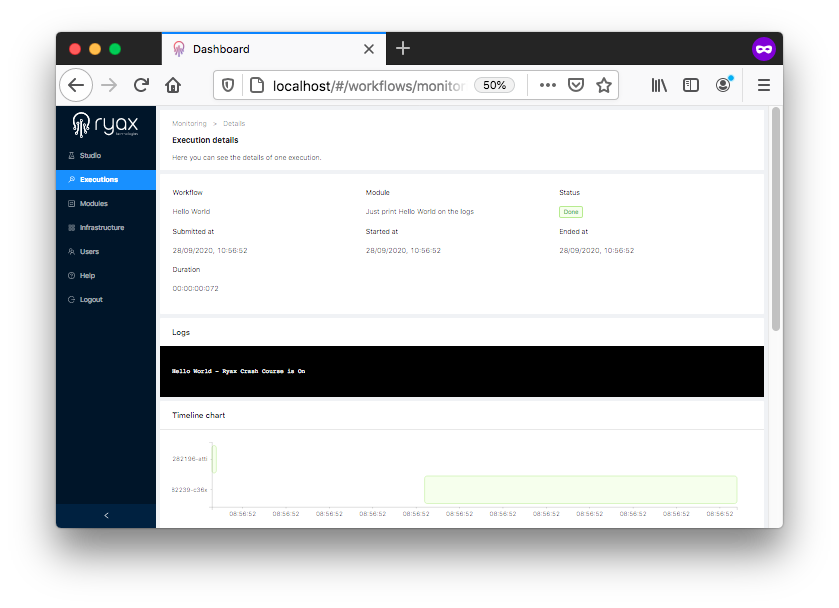
You made it! You have a first workflow, it triggers one execution and your processor successfully shows a message on the screen. You can be wondering how to make this workflow work on some data. For that, we will need to feed the modules with inputs. We will learn how to pass data from one module to another in the next lesson.