Committing your own modules and using them in a workflow
Now that we’ve created a new workflow with existing modules, deployed and ran it, let’s see how you can add your own code to a Ryax workflow.
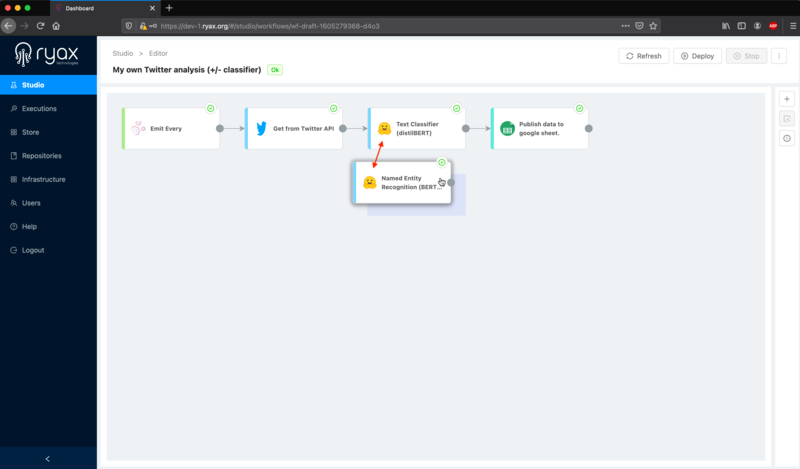
All along this example, we’ll use the “Twitter analysis” workflow you’ve built in the previous section of this guide, and swap the Text Classifier module with a new custom module you (figuratively) developed yourself:
We will use a model we’ll call “Named Entity Recognition (BERT)”, a state of the art BERT language model to classify the content of Tweets across several categories:
O, Outside of a named entity
B-MIS, Beginning of a miscellaneous entity right after another miscellaneous entity
I-MIS, Miscellaneous entity
B-PER, Beginning of a person’s name right after another person’s name
I-PER, Person’s name
B-ORG, Beginning of an organisation right after another organisation
I-ORG, Organisation
B-LOC, Beginning of a location right after another location
I-LOC, Location
More information about this model can be found here.
Let’s start by importing this new module into Ryax.
Note
The following section focuses on one specific workflow example (“Twitter analysis”). For more universal guidelines on how to create custom workflows with your own code in Ryax, please refer to the “Ryax Tour” and “How-To” sections of this documentation.
Committing external code to Ryax
Scanning Git repositories
Ryax enables you to create your own modules from code that was developed outside the platform. For this purpose, we’ll use the “Repositories” screen.
One of the most standard ways Data Scientists (and developers in general) store, version, review and collaborate on their code is using Git repositories. Leveraging this common practice, Ryax provides an interface able to pull code from any Git environment to create custom modules that can be used in Ryax workflows.
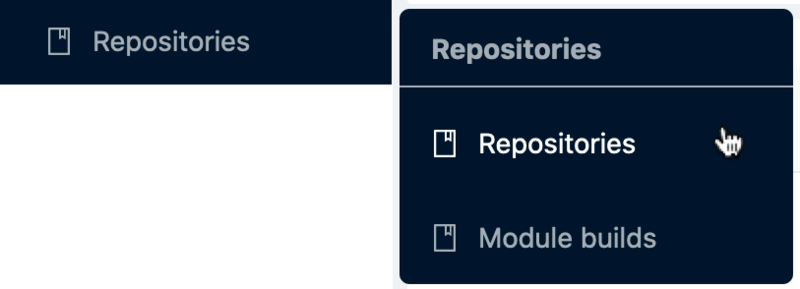
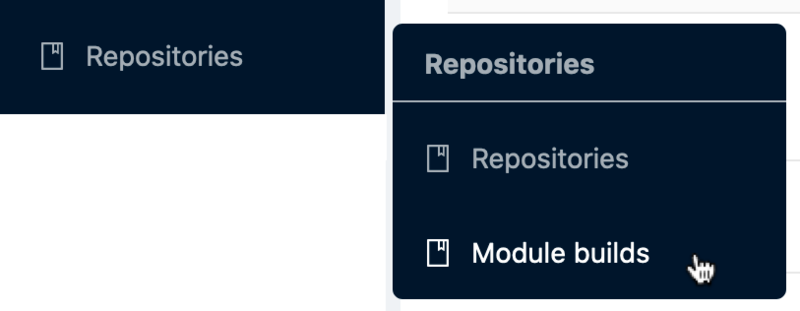
Let’s navigate the “Repositories” section of the platform using the left menu bar:
This screen allows you to save and manage a list of repositories you wish to pull your code from:
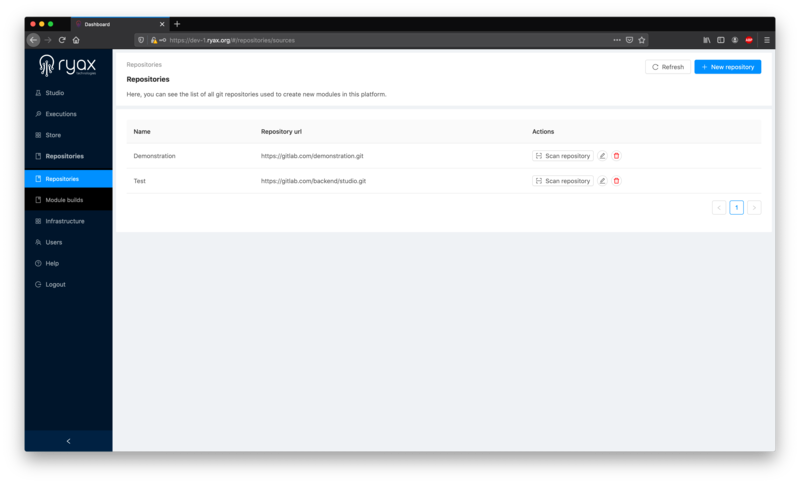
To list a new repository, click the “New repository” button at the top right. You’ll be asked to enter a repo name and its URL:
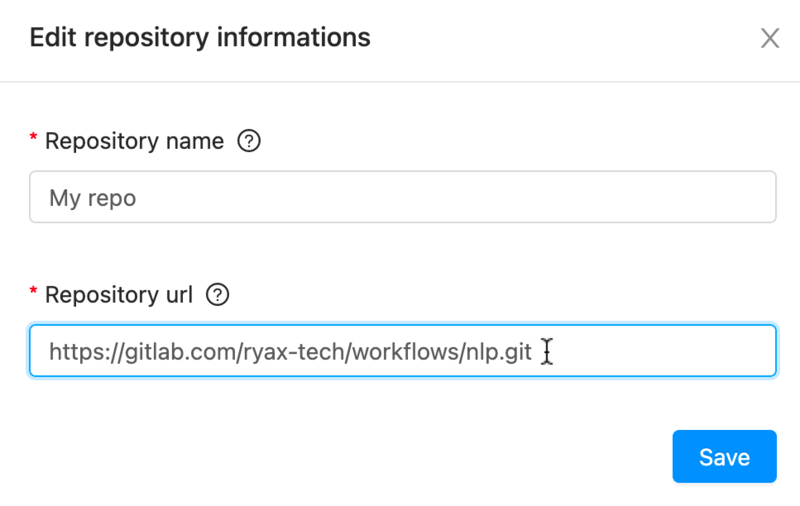
For this guide, you can use the following public Gitlab directory we’re providing: https://gitlab.com/ryax-tech/workflows/nlp.git
Warning
Your repository URL must end with the “.git” extension for Ryax to properly interpret the repo’s path.
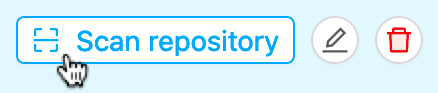
After entering you repo’s name and URL, you can click the “Scan repository” button to start searching for code to pull:
You’ll then be asked to enter your credentials to allow access for Ryax to crawl your repo. For this example, we’ll use the following login and password:
Username: anonymous
Password: anonymous
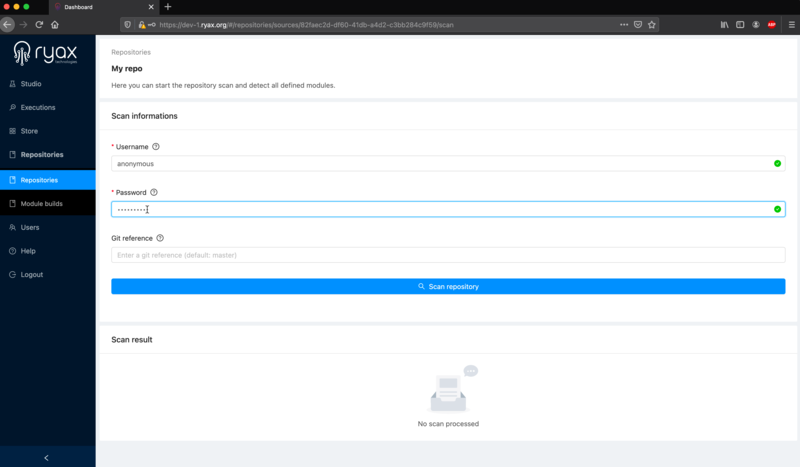
Then, you can hit the “Scan repository” button to initiate the repository scan:

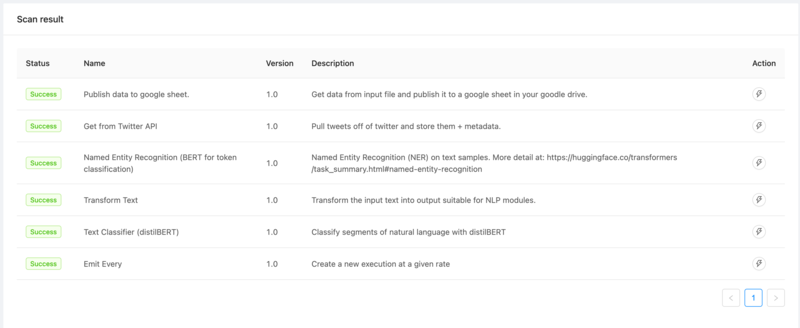
Ryax will crawl the Git URL you provided and list all recognizable modules in the “Scan results” panel below:
Note
For more information on how to build recognizable modules for Ryax, please refer to the “How-to” section of this documentation.
Reviewing the result list, we can see the detected module: “Named Entity Recognition (BERT for token classification). Let’s say this is the one we’ve just developed and wants to add to our workflow.
Now you may launch this specific module’s build by clicking on the lightning button to the right:

This “Build module” command will launch the actual code pull into Ryax. The platform will automatically pull your module’s code, package it in a productizable way and publish it in the Ryax store for future use in any workflow.
Building modules
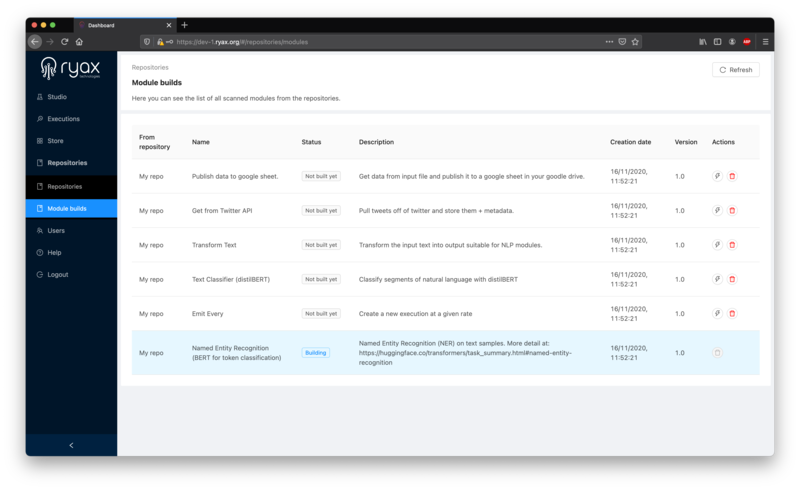
After scanning repositories, you’ll be able to monitor all scanned modules in the “Module builds” section of the Ryax platform:
You’ll then be able to view a list of all scanned modules, manage it, and launch module builds:
You can use the contextual buttons on the right of the list to:
|
Build/or retry build a module. |
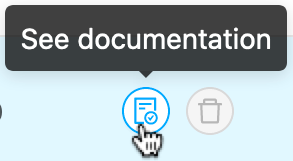
|
Access a module's documentation (if built). |
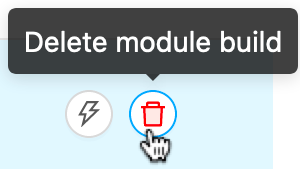
|
Delete a module scan. |

In-list statuses inform you about module build states at any moment:

After a few seconds, your “Named Entity Recognition (BERT for token classification)” module should display the “Success” status:

When successfully built, your module will appear in the Ryax module store as well as the contextual module panel of the Studio editor. You’ll then be able to drop it into a workflow.
Working with the Ryax store
Navigating the store
As described in the “Ryax concepts” section, modules are stateless applications (bits of code) that receive input data, do some computation, and produce output data.
There are 3 main types of modules within Ryax:
|
Sources: to ingest data from external resources (like a database, a clock, a platform, …), also acting as workflow triggers. Often used upstream in a workflow. |
|
Processors: to process and transform data. Often used as intermediate steps in a workflow. |
|
Publishers: to publish data to external services. Often used downstream in a workflow. |
List view
These modules are listed in the “Store” section of the Ryax platform:
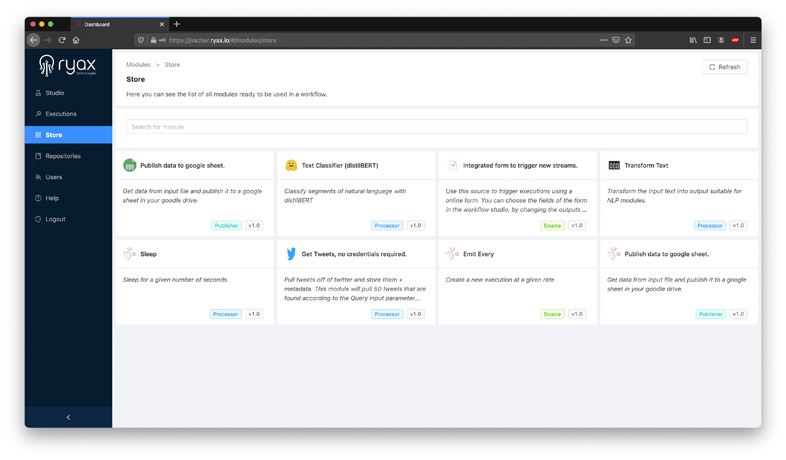
Modules are categorized along with their type: source, processor or publisher.
[Reminder] Studio view
As a reminder, modules can also be accessed and directly dragged into a workflow using the studio editor panel (see “Studio” section of this guide).

Searching the store
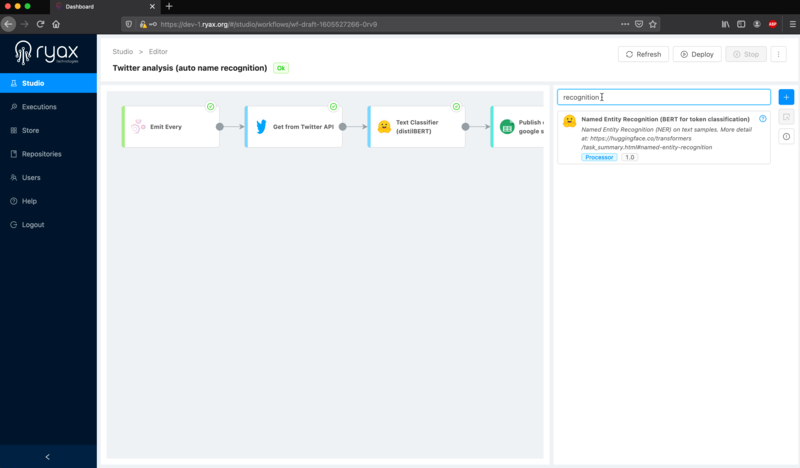
You can find the module you’ve just built using the search bar at the top:

Each listed module displays quick view information to help you navigate through existing sources, processors and publishers:
Accessing modules’ resources
By clicking on a module, you can access detailed information and documentation:
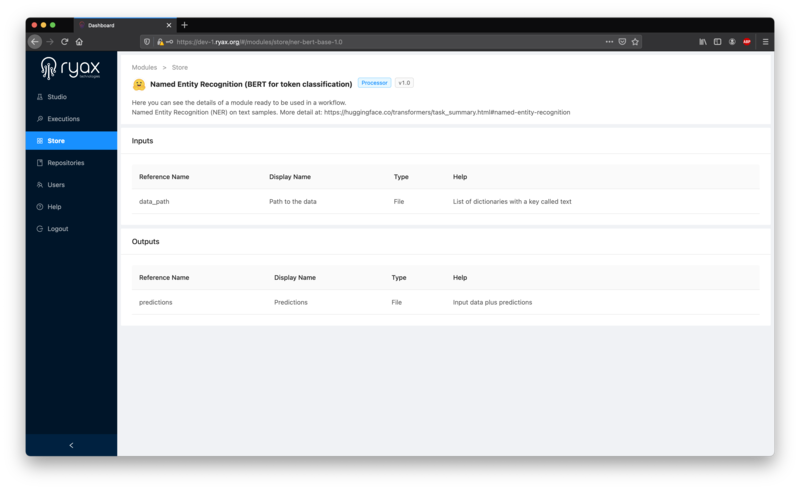
This screen displays the modules’ full descriptions, as well as inputs and outputs details.
Using your modules in a custom workflow
Let’s move back to the Studio Editor and add our new module to the workflow. Open the Module Store pane to the right and search for “Recognition…” to filter out the module list:
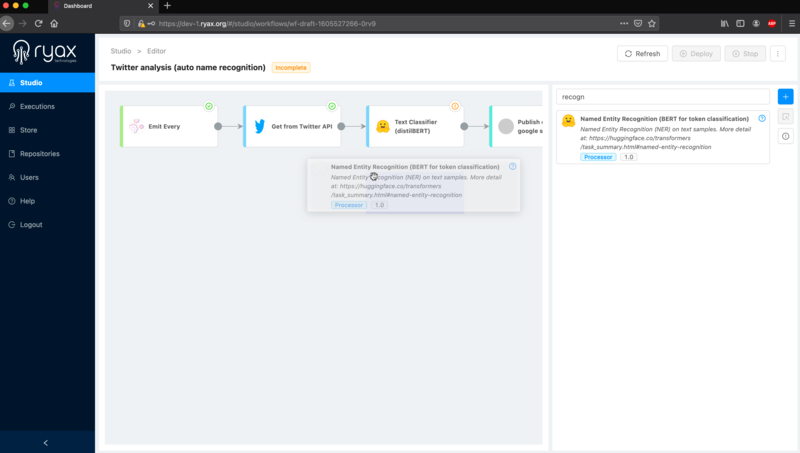
You can then drag this new module in your workflow:
Since we will use this new module instead of the ‘old’ classifier, let’s remove the old one from our workflow:
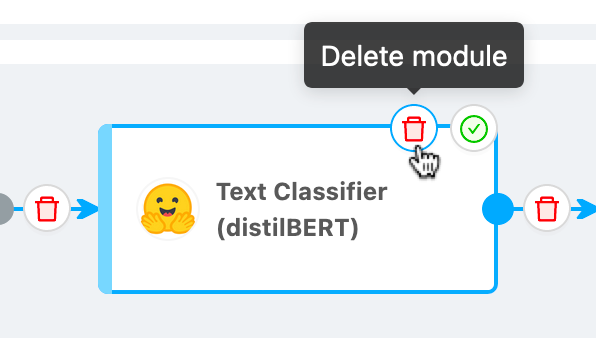
This will delete the module as well as its upstream & downstream links, so you can now interleave the new module in place and interlink it:

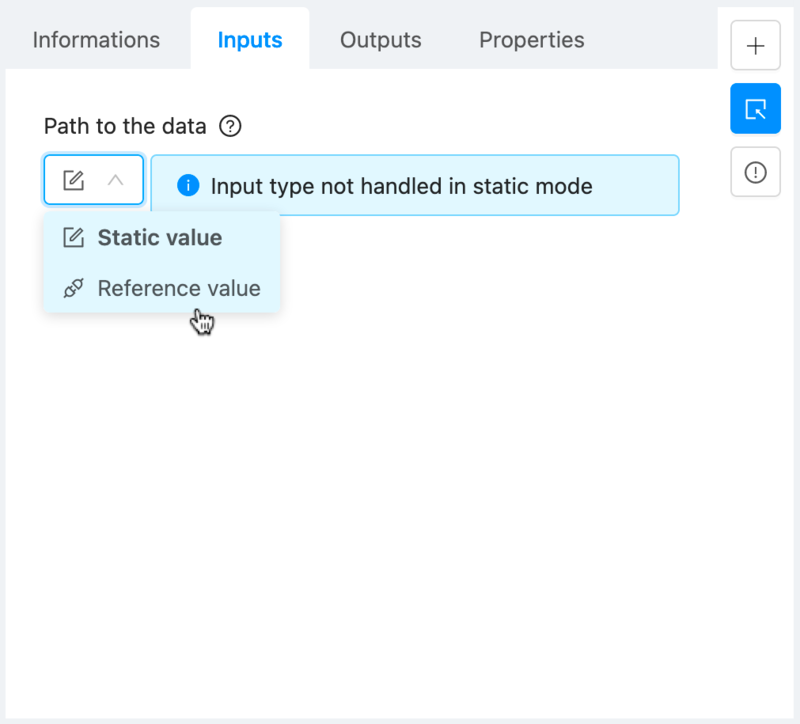
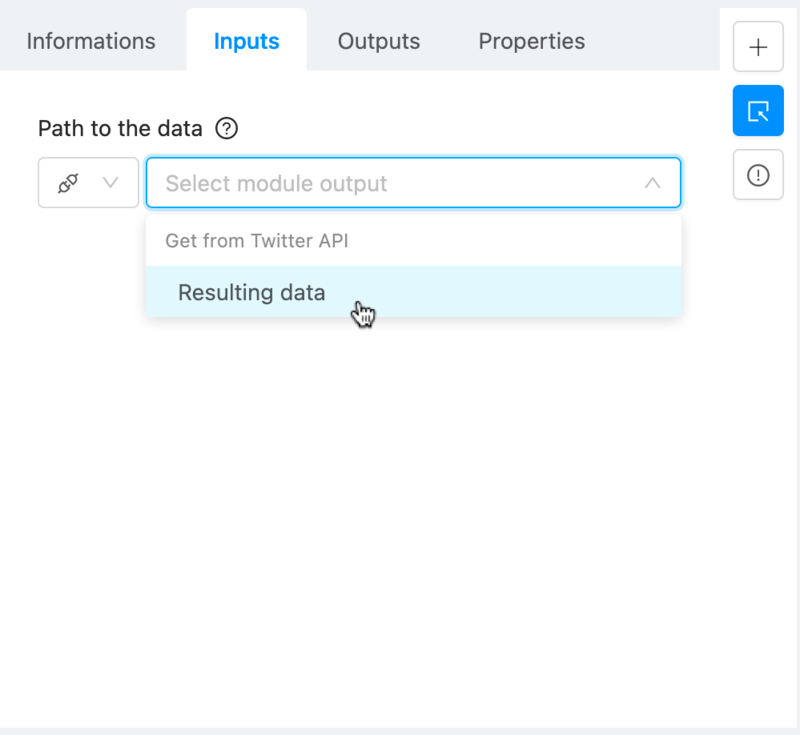
Last step is to configure it by specifying the previous module’s output (i.e. a ‘reference value’ in the Ryax vocable) as the current module’s input:
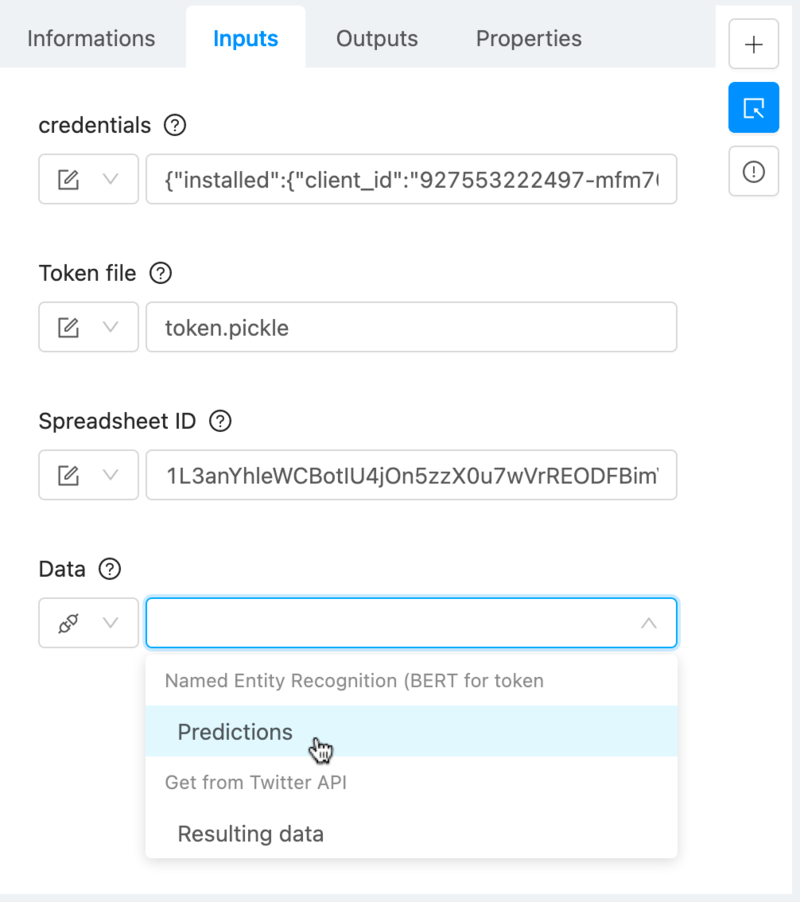
[Optional: if you have set up the “Publish data to Google Sheet” module, you’ll have to re-configure its input as well since the relative upstream module changed. Proceed as follows.]
This is all you had to do to replace the ‘old’ module by the new one. You’re now ready to deploy your workflow and have a look at its executions:

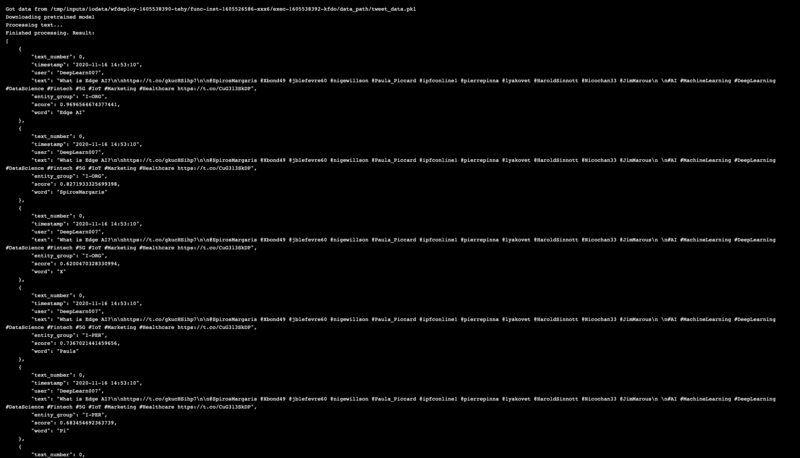
If you navigate to the execution dashboard and you select one of the “Named Entity Recognition” module’s executions, you’ll be able to view the workflow’s results in the log window (see red rectangle below):
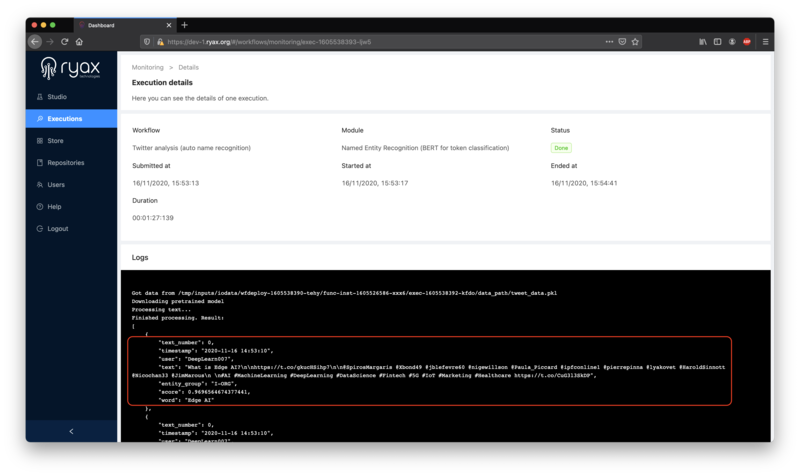
In this example, we can see that the algorithm identified the keyword “Edge AI” in the Tweet, with a confidence index of “96.96564674377441%”, and so on:
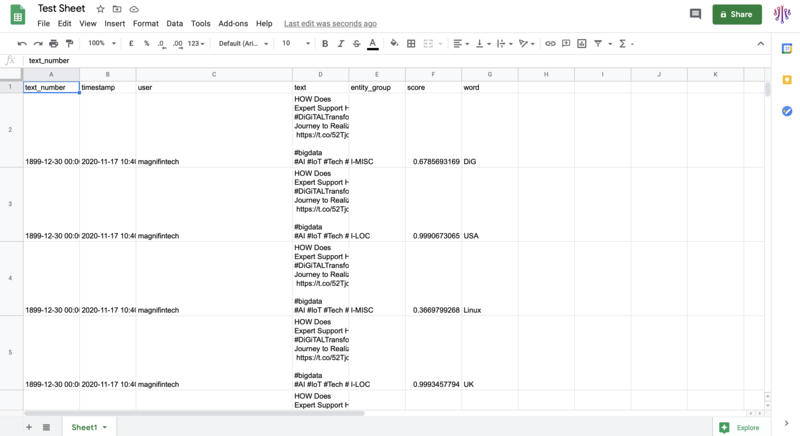
[Optional] If you set up the Google Sheet publisher module, you will be able to access your workflow’s results straight from your Google Sheet, which provides a more advanced way to visualize data: