A first tour of the platform
Ryax was designed to be used on a daily basis by people with various IT skill levels. Its low-code interface enables you to deploy and run any Data Science project in a few clicks. For expert users, advanced features and operations are covered in other section of this guide.
Through this guide, we’ll use the left menu panel a lot:
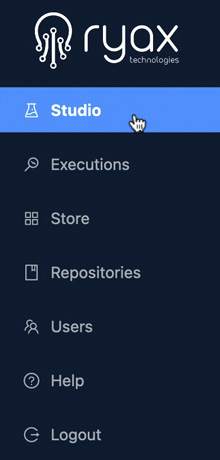
This panel can be collapsed to adapt to your screen and leave more room for focused editing in the main operational sections of Ryax.
|
Use the arrow at the bottom left to collapse/uncollapse the menu panel
|

First of all, let’s have a look at Ryax’s main screens, navigating using the left menu: the Studio, the Executions center, the Modules pipeline & catalog, the Infrastructure monitoring board, the User Management center, and the Help menu.
Studio
List view
Welcome to the Ryax Studio, the heart of our platform. This is where you will be able to create, assemble, configure, deploy and run Data Science projects with no coding skills required.
Click on the “Studio” button on the left panel to access it, a screen opens with a list of existing workflows:
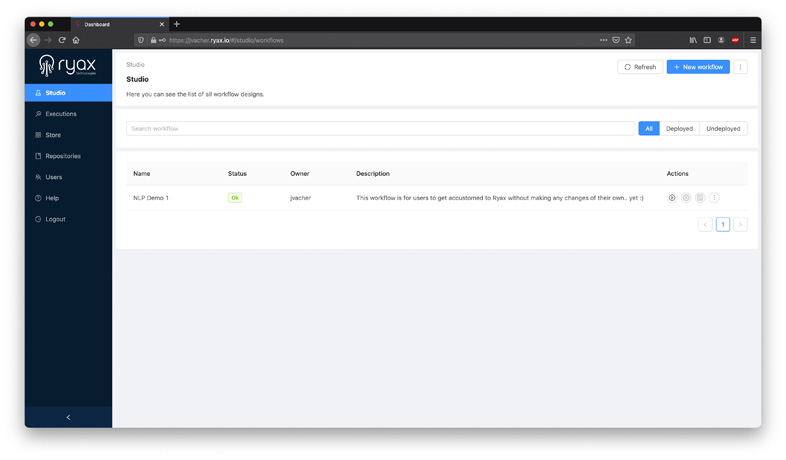
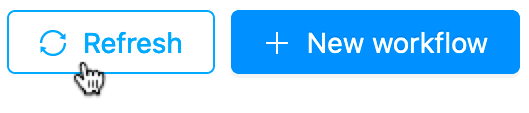
From this view, you can:
|
Create a new workflow
|
|
Refresh the workflow list and deployment statuses
|
|
Access the editing canvas: clicking anywhere on the workflow's title line
|
|
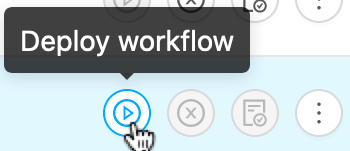
Deploy any workflow on the spot: clicking on the contextual "play" button
|
|
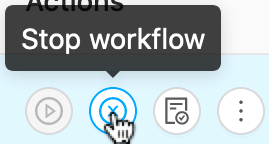
Undeploy a workflow, clicking on the contextual "stop" button
|
|
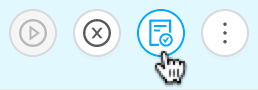
Launch the "Form" assistant to trigger your workflow using a user-interactive form
|
|
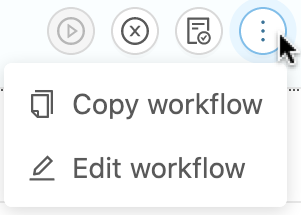
Duplicate a workflow and edit its metadata (name, description), clicking on the "..." contextual button
|
|
Search for a specific workflow
|
|
Filter the workflow list by deployment state
|


The workflow list lets you read workflows’ names, deployment statuses, owners, and short descriptions.
Once you click on a workflow line, you’ll enter the workflow editing screen, known as the “canvas editor view” of the studio.
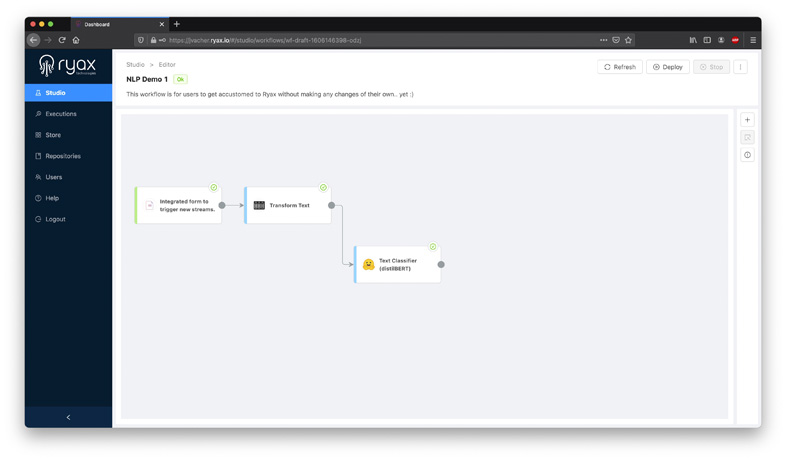
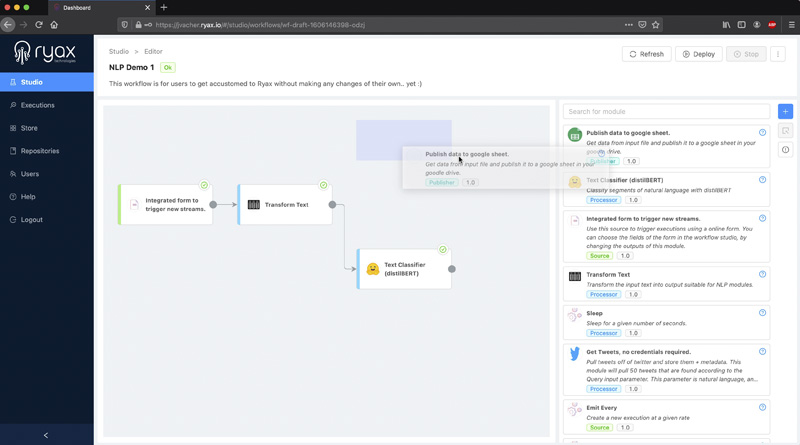
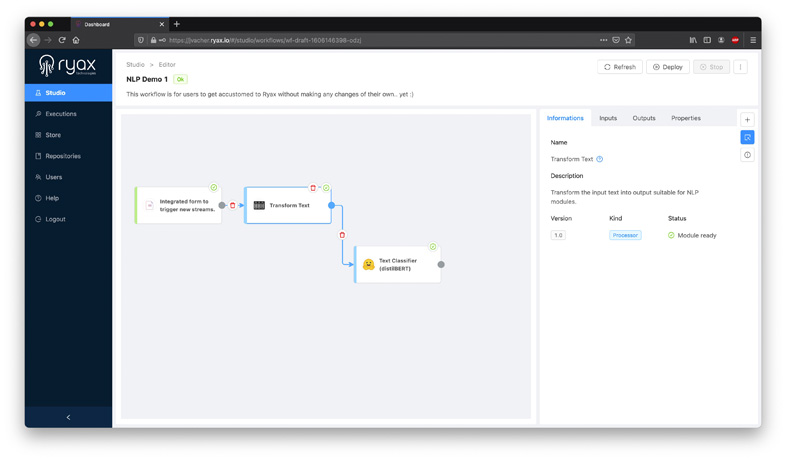
Canvas editor view
The Editor view gives you access to all the controls you need to assemble, configure, edit and deploy your Data Science workflows.
It is composed of 3 main parts:
In the center: the canvas editor, used to graphically assemble workflows.
On top: the deployment controls.
On the right: the contextual editing panel.
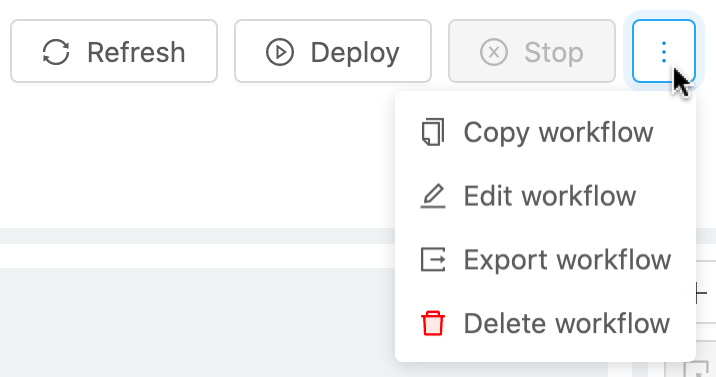
Using the top controls, you can:
|
Refresh the canvas and deployment statuses.
|
|
Deploy your workflow.
|
|
Undeploy your workflow.
|
|
Edit your workflow's metadata, duplicate it, export it, delete it.
|
|
View your workflow's executions (contextual, workflow has to be deployed).
|


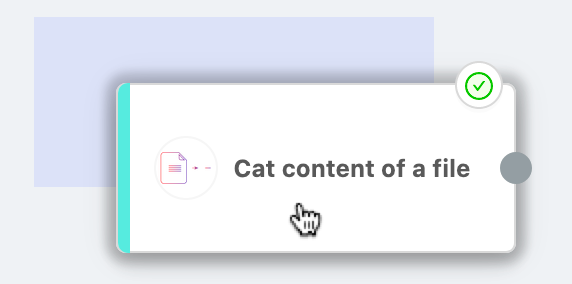
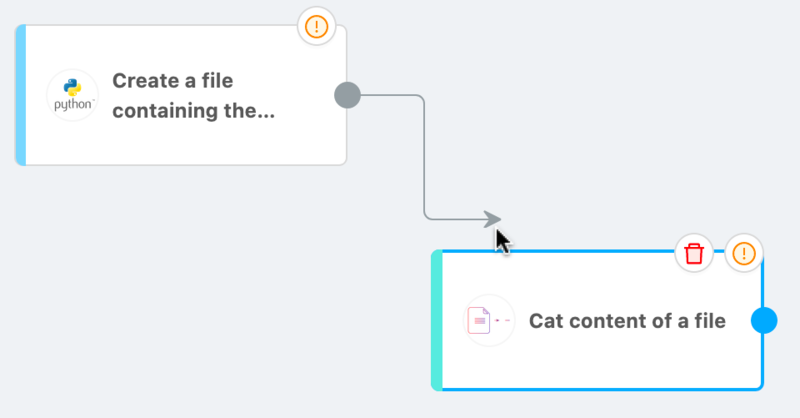
Using the canvas, you can:
|
Drag&drop modules anywhere you like, holding your left mouse button.
|
|
Interconnect modules together, dragging the link control (spot at the right of each module).
|
|
Access contextual module controls (click on a module for them to appear).
|

To use the contextual editing panel, click the relevant controls on the right:
|
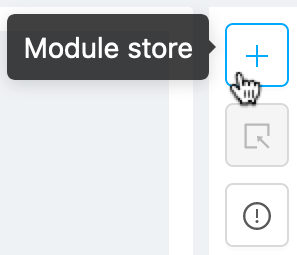
Opens the module store pane.
|
|
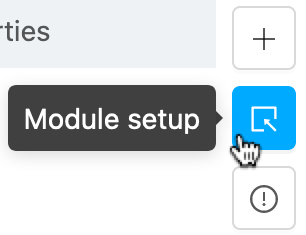
Opens the module setup pane (contextual, a module has to be selected in the canvas to access this section).
|
|
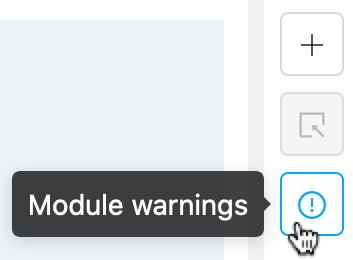
Opens the module warning and debug pane.
|
The module store pane allows you to search for modules and then drag them in the canvas:
The module setup pane enables you to configure modules inputs, outputs and properties (see detailed configuration steps in the “configuring modules” section of this guide):
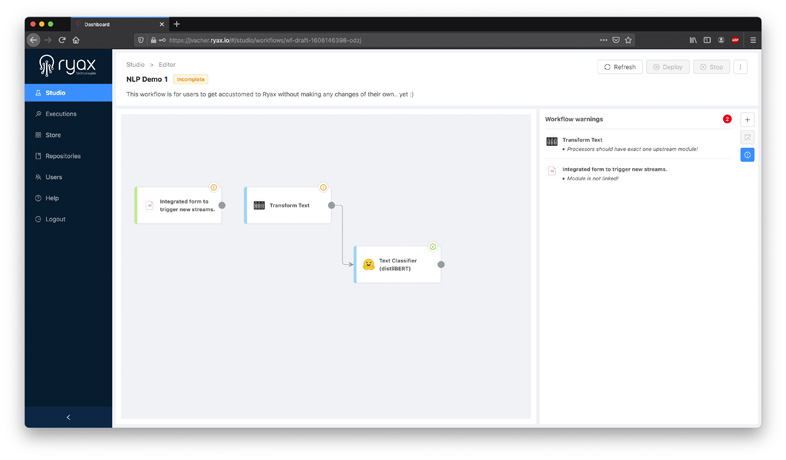
The warning pane enables you to observe your workflow being built and access relevant information regarding its readiness for production. Ryax provides you natively with feedback to help you assemble a ready-to-deploy Data Science workflow:
Executions
When deployed, workflows can be triggered by source events and generate executions (see the “Ryax concepts” section for more details). Ryax allows for precise observation of these executions via the “Executions” screens, to facilitate workflow comprehension, debug and optimization.
In the context of Ryax, and as a reminder: “Execution” means a module run that was triggered by the propagation of a deployed workflow upon receiving a valid triggering event. Executions can also be understood at the workflow level: one execution meaning one workflow run from end to end.
For the rest of this chapter, “execution” will describe a run at the module level.
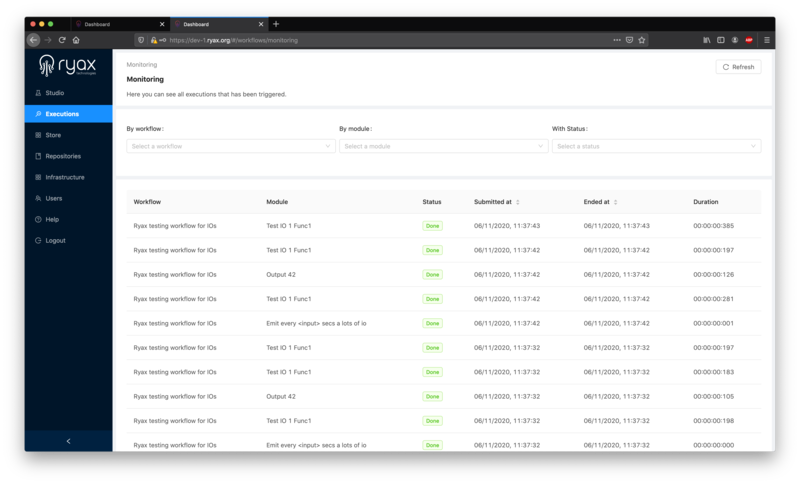
List view
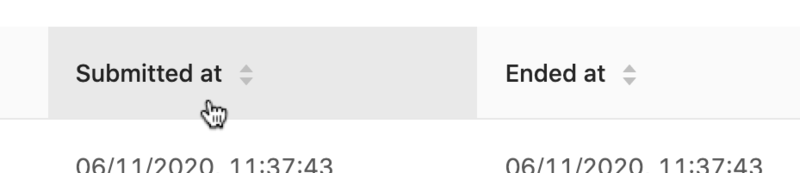
The menu’s first screen features a list view of all module executions, latest executions on top by default. You can change the sorting rules using the sort controls on top of the list:
By default, this screen lists all executions from all the modules running on your Ryax platform regardless of the workflow that carry them. But, you can filter them out to display only those that are relevant to you. For this, use the filter controls on top (to filter executions from a specific workflow, module or status):

Use the top refresh button to actualize the execution list with the latest data:

Here is a quick view of the executions statuses you can encounter:
|
Submitted: this module's execution has not yet started per se, it is waiting for input data to arrive (e.g. uploading data from a third party service, etc), and will then start effectively. |
|
Running: this module's execution is being computed. |
|
Error: this module's execution couldn't complete because of an error. See this module's logs for more details and debugging help. |
|
Done: this module's execution has completed successfully. The workflow execution has moved to the next module (if any). |


These statuses are here to help you assess the state of modules’ executions for any deployed workflow. Clicking on any execution row will lead you to this execution’s details panel.
Details view
Extracting insights from workflows and modules’ executions is critical to understand their behaviors in production. This is why Ryax provides a native execution dashboard, accessible when clicking on any execution row from the list view, or by hitting the “view executions” button from the Studio Editor screen (see the “Studio” section).
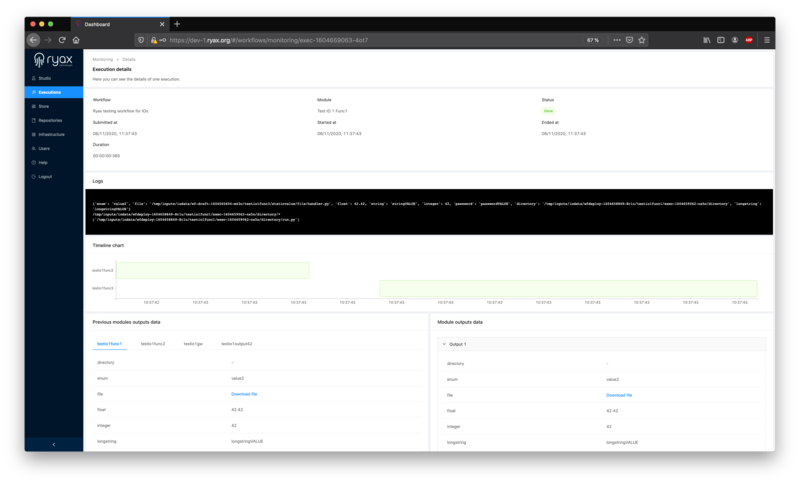
Here is an overview of the execution dashboard:
|
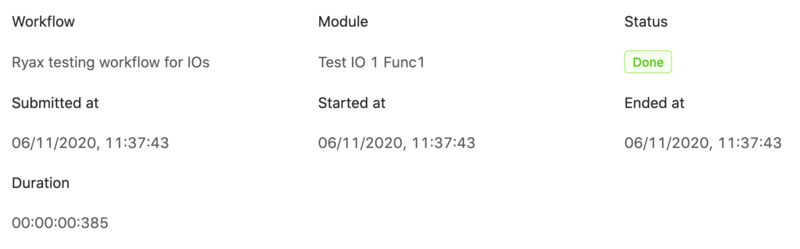
Metadata section: displays contextual data about the execution (when, where, how).
|
|
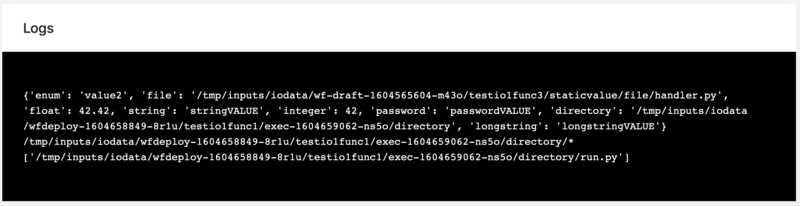
Log visualizer: displays logs that were returned by the run module (if any).
|
|
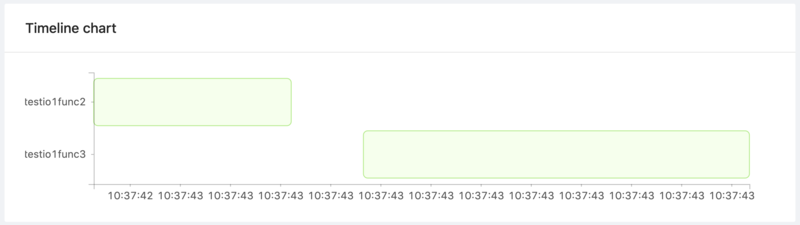
Timeline chart: displays a Gant-like chart with timestamps and execution duration. Gaps in between the execution bars represent the workflow propagation delay of running from one module to the next and are mostly irrelevant (less than a few microseconds).
|
|
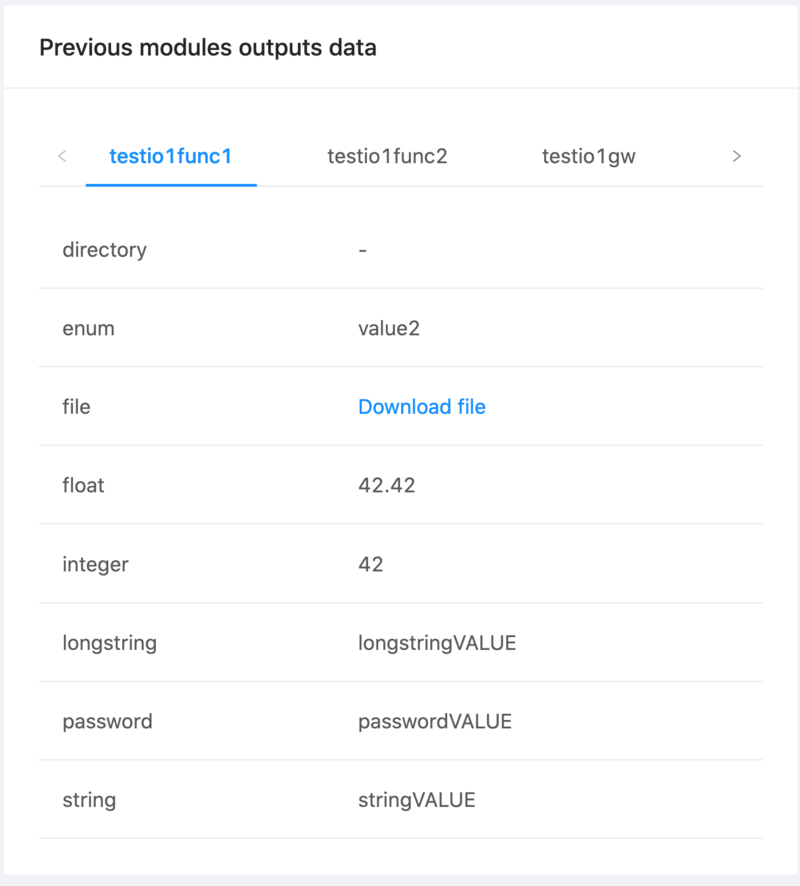
Previous modules outputs: used to display and access upstream modules executions' data.
|
|
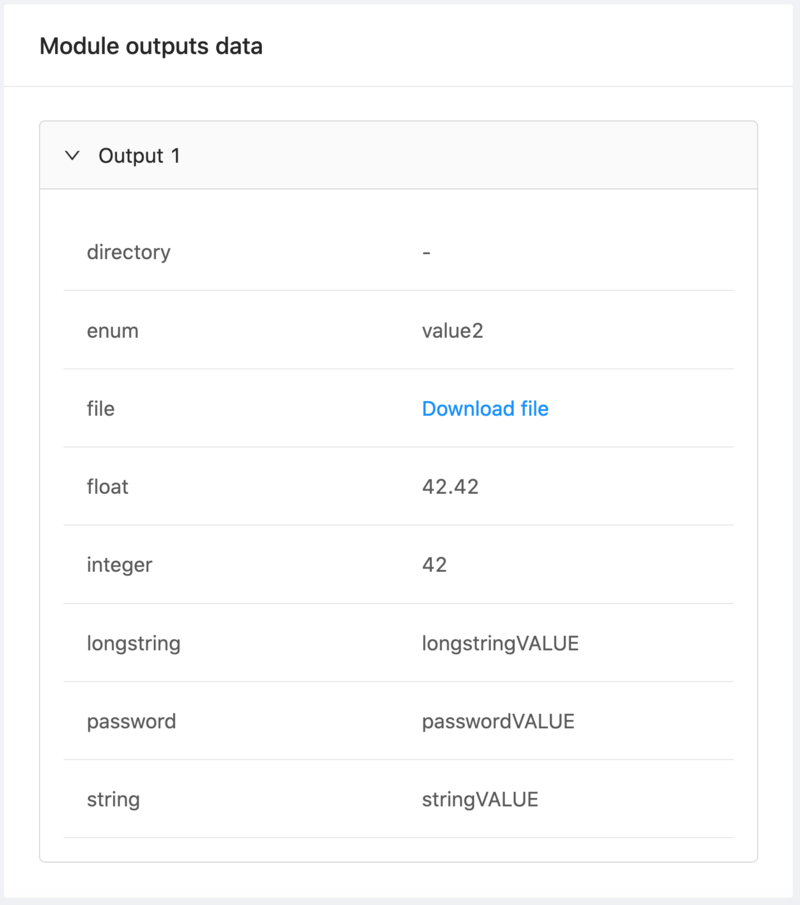
Module outputs: used to display and access the current module execution' data.
|
|
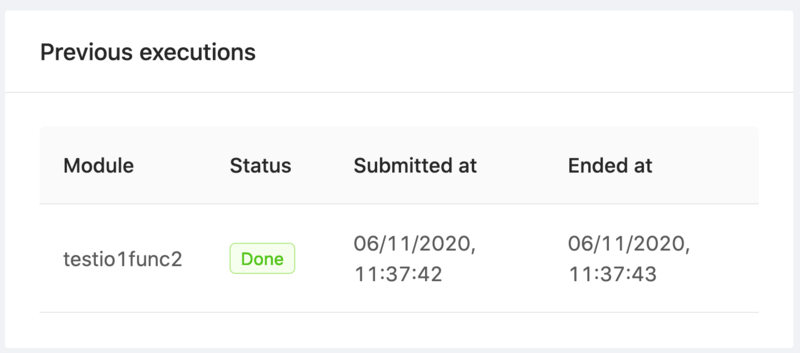
Previous executions: a list of upstream modules' executions.
|
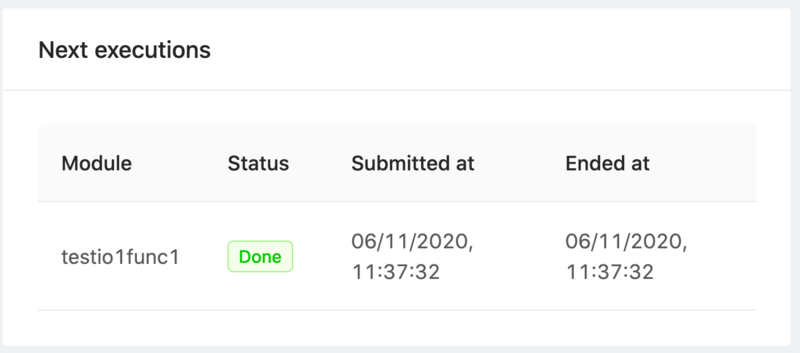
|
Next executions: a list of downstream modules' executions.
|
Module store
As described in the “Ryax concepts” section, modules are stateless applications (bits of code) that receive input data, do some computation, and produce output data.
There are 3 main types of modules within Ryax:
|
Sources: to ingest data from external resources (like a database, a clock, a platform, …), also acting as workflow triggers. Always used upstream in a workflow. |
|
Processors: to process and transform data. Often used as intermediate steps in a workflow. |
|
Publishers: to publish data to external services. Often used downstream in a workflow. |
List view
These modules are listed in the “Store” section of the Ryax platform:
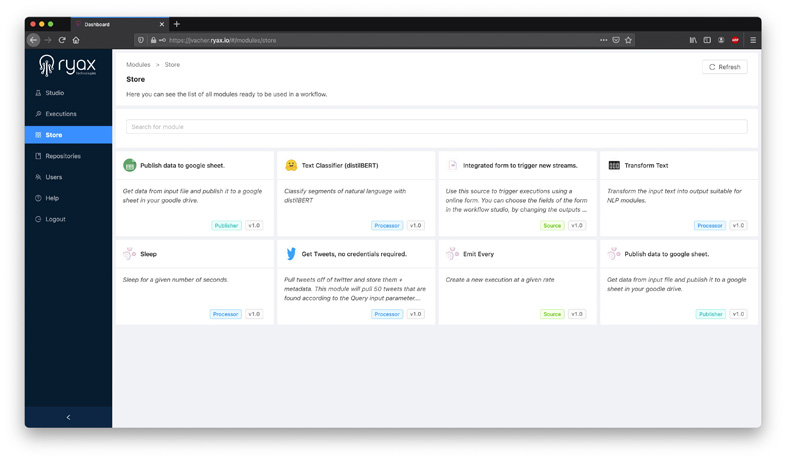
Modules are categorized along with their type: source, processor or publisher. You can find the module you’re searching for using the search bar at the top:

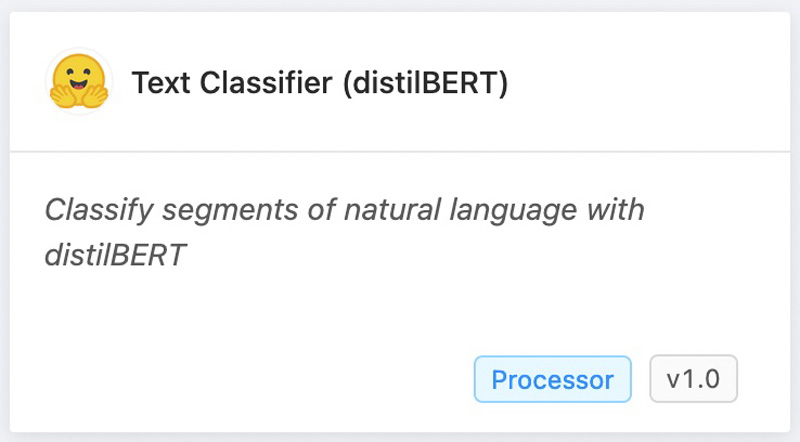
Each listed module displays quick view information to help you navigate through existing sources, processors and publishers:
Details view
By clicking on a module, you can access detailed information and documentation:
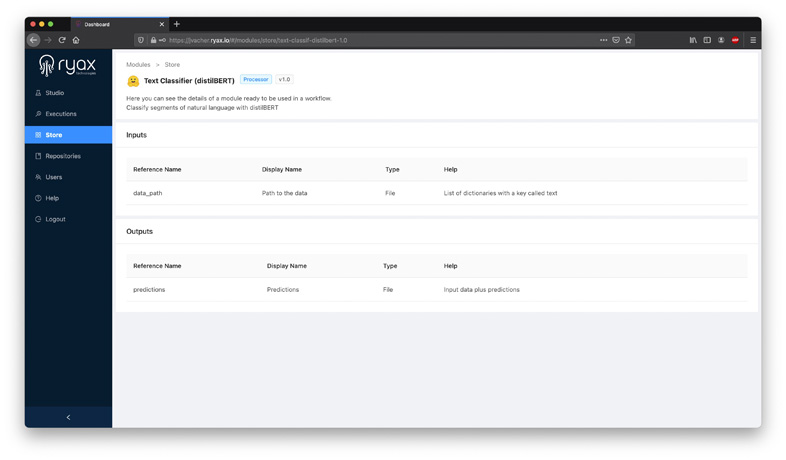
These screens display the modules’ full descriptions, as well and inputs and outputs details.
[Reminder] Studio view
As a reminder, modules can also be accessed and directly dragged into a workflow using the studio editor (see “Studio” section of this guide).
Module builder
Ryax enables you to create your own modules from code that was developed outside the platform. For this purpose, we’ll use the “Module builder” section.
Repositories
One of the most standard ways Data Scientists (and developers in general) store, version, review and collaborate on their code is using Git repositories.
Leveraging this common practice, Ryax provides an interface able to pull code from any Git environment to create custom modules that can be used in Ryax workflows.
Let’s navigate the “Repositories” section of the platform using the left menu bar:

This screen allows you to save and manage a list of repositories you wish to pull your code from:
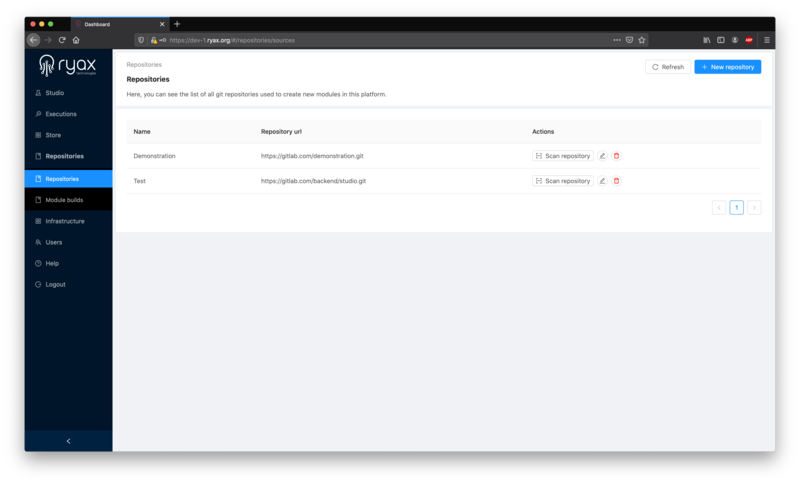
To list a new repository, click the “New repository” button at the top right. You’ll be asked to enter a repo name and its URL:
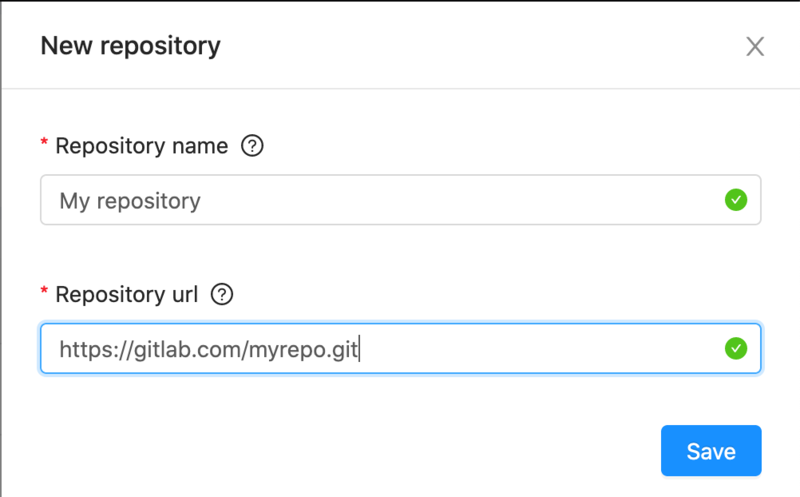
Warning
Your repository URL must end with the “.git” extension for Ryax to properly interpret the repo’s path.
After entering you repo’s name and URL, you can click the “Scan repository” button to start searching for code to pull:
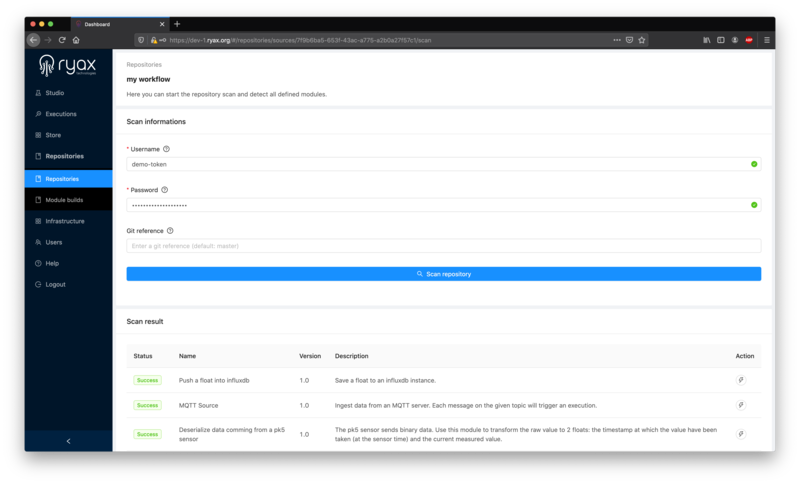
You’ll then be asked to enter your credentials to allow access for Ryax to crawl your repo:
Warning
Some Git repositories are configured to enable 2-factor authentication (2FA) by default. If that is the case for your repository, using your own personal credentials may not enable access to Ryax. To solve this, you’ll have to create a third-party app authentication token, and use these specifically-created credentials in Ryax.
For example, the process for Gitlab (it may be different for your Git provider) is here.
Then, you can hit the “Scan repository” button to initiate the repository scan:

Ryax will crawl the URL you provided and list all recognizable modules in the “Scan results” panel below:
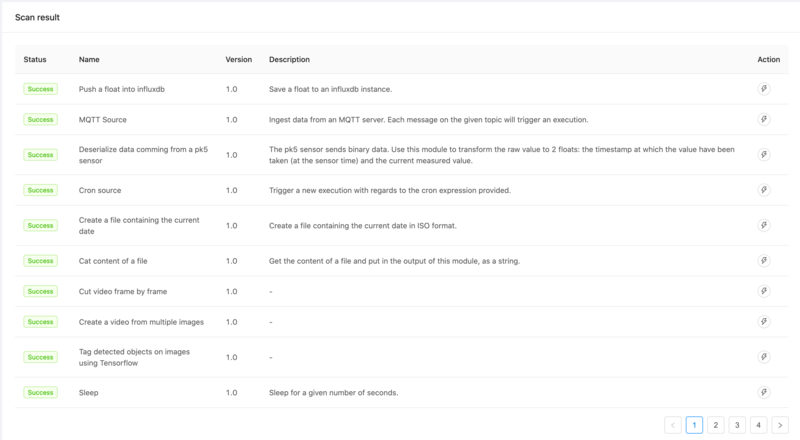
Note
For more information on how to build recognizable modules for Ryax, please refer to the “How-to” section of this guide.
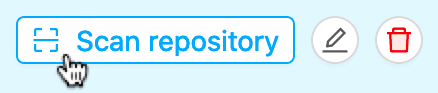
After reviewing the result list, you may luanch a module build by clicking on the lightning button to the right:
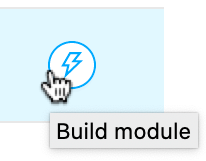
This “Build module” command will launch the actual code pull into Ryax. The platform will automatically pull your code, package it in a productizable way and publish it in the Ryax store for future use in any workflow.
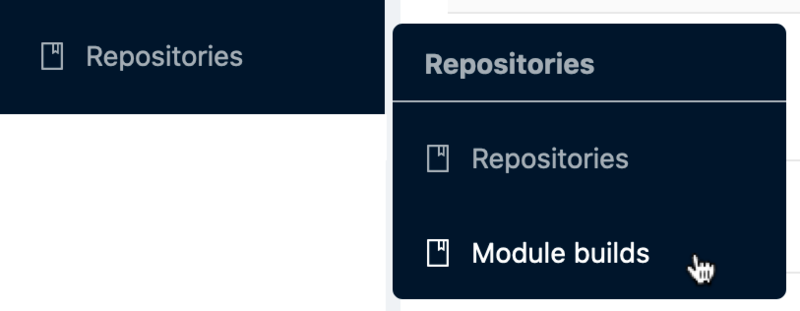
Module builds
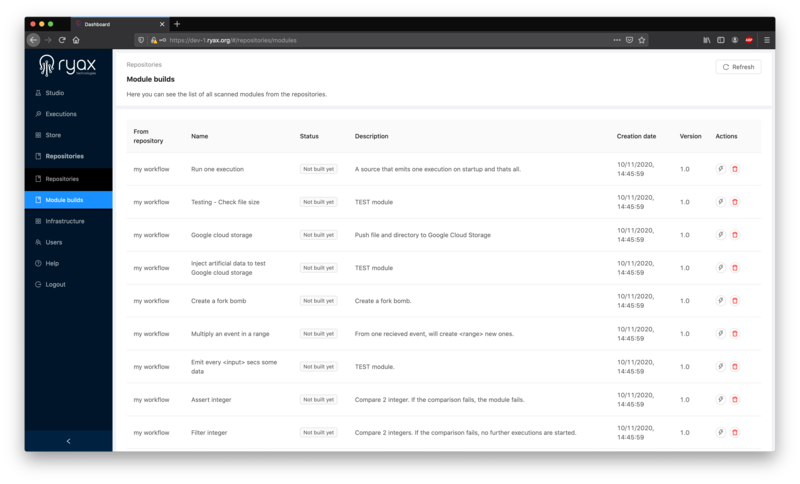
After scanning repositories, you’ll be able to monitor all scanned modules in the “Module builds” section of the Ryax platform:
You’ll then be able to view a list of all scanned modules, manage it, and launch module builds:
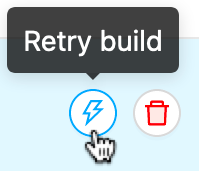
You can use the contextual buttons on the right of the list to:
|
Build/or retry build a module.
|
|
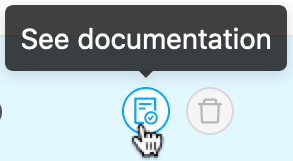
Access a module's documentation (if built).
|
|
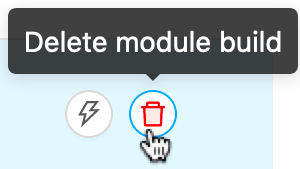
Delete a module scan.
|
In-list statuses inform you about module build states at any moment:

When successfully built, modules will appear in the Ryax module store as well as the contextual module panel of the Studio editor. You’ll then be able to drop them into a workflow.
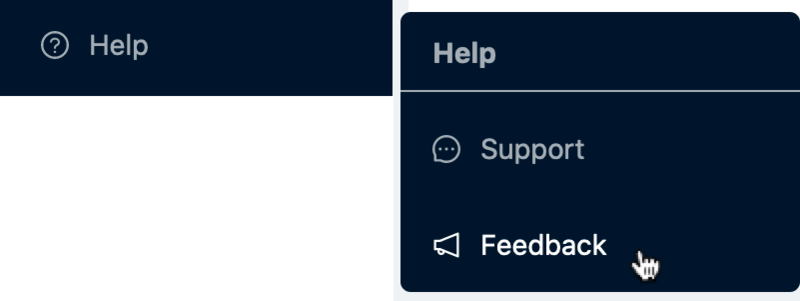
Help
Support inquiries can be filed using the “Help” section of the Ryax platform.
The “Support” button allows you to ask for help, a member of our team will get in touch with you with a solution within 1 working day.
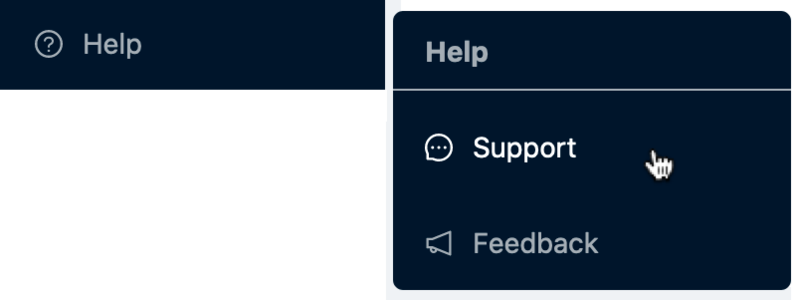
The “Feedback” button enables you to provide any feedback and is very helpful for us to improve our platform to suit your needs better.