Running existing workflows
Let’s now run our first workflow in production. In this section, we’ll cover the case where a workflow has already been assembled and we want to execute it with real datasets.
As an example, we will use a simple pre-built workflow called “NLP Demo 1” (for Neuro-Linguistic Programming).

Here is a step-by-step description of this workflow:
Trigger an execution by passing as input a Tweet (text) in a user form
Transform the input text to a format accepted by the next module
Take the Tweet and use an off-the-shelf DistilBERT model (fine-tuned for text classification) to evaluate the sentiment in those segments of text.
For a more advanced and automated version of this workflow, please check the next section.
Deploying workflows
As you learned from the “Ryax concepts” section, within Ryax, a workflow has to be in the “deployed” state to properly run in production. Deployment is the phase where the workflow is built, packaged and loaded by Ryax on production infrastructures.
Before deploying a workflow, we’ll have to make a quick sanity check to ensure it is ready to do so. Fortunately, Ryax provides such an insight through the workflows’ statuses.
Let’s move in the Ryax Studio and consider the following workflow: “NLP Demo 1”.

This workflow is already assembled and, as you can see, displays an “OK” status. This is a good sign.
As a reminder of workflow statuses:
|
OK: workflow is properly assembled and configured, it is ready to be deployed. |
|
Incomplete: workflow is not ready to be deployed (configuration is incomplete, assembly is incorrect, etc). |
|
Creating: workflow deployment is initiated and the workflow is being instantiated in production. |
|
Deploying: workflow is being deployed. |
|
DeployError: workflow could not be deployed. Check module configuration for warnings or errors. |
|
Deployed: workflow is ready to receive inputs and generate executions. |
To complete our sanity check, let’s move in the Studio Editor by clicking on our workflow’s row in the list.
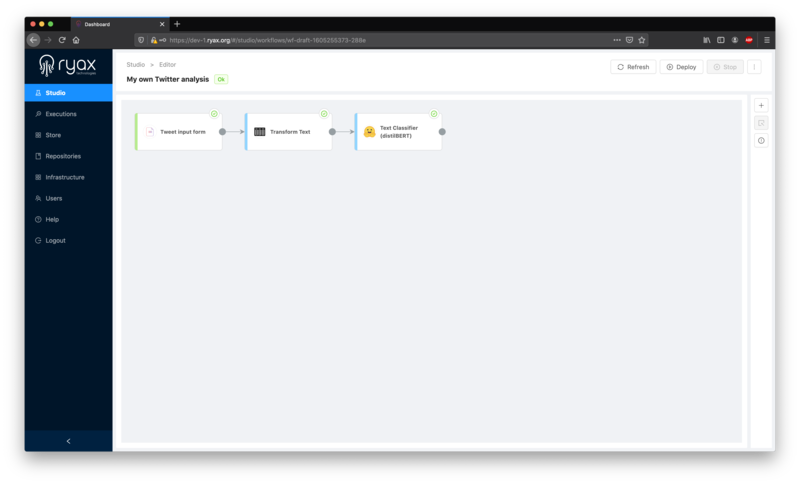
Once in the Editor, you can click on the “Warning” (!) panel (on the bar to the right) to open it:
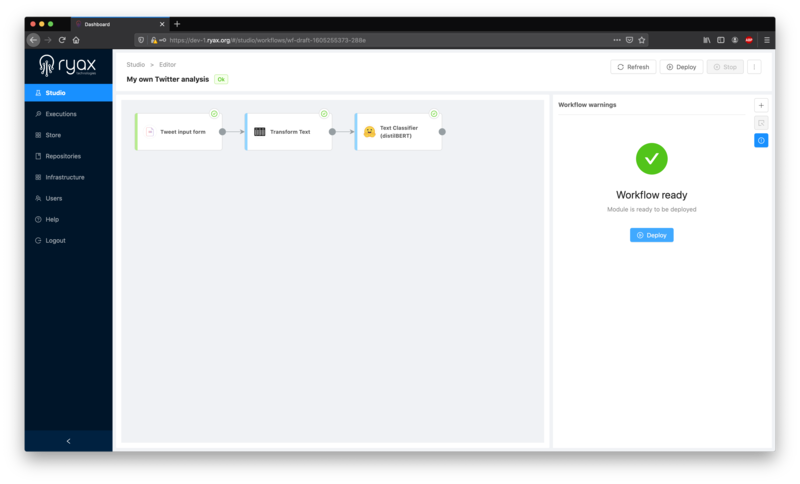
This panel displays any warning or errors Ryax has detected on your workflow. If the “Workflow ready” message displays, in accordance to the “OK” status of the workflow, then we’re ready to proceed with the deployment.
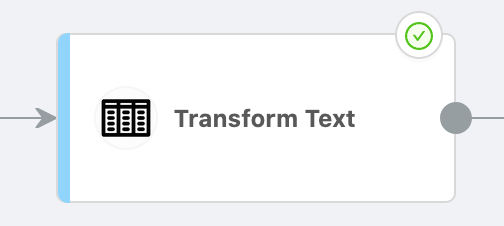
Additionally, you can also check that all modules display a green check on their top right corner, meaning that they are individually properly configured and interlinked:
You can now click any “Deploy” button, either from the Workflow list view or from the Studio Editor:

Upon deployment, your workflow will display a succession of statuses: “Creating”, “Deploying”, and finally “Deployed”. It should take a few seconds. If the displayed workflow status does not change, please click the “Refresh” button at the top of the page to actualize the status.
The “Deployed” status ensures that your workflow has been successfully deployed in production: congratulations!
Executing workflows
Now that your workflow is deployed, it is ready to receive inputs/triggers and generate executions.
As a reminder, within Ryax an “execution” means one run of a module, i.e. one module doing its job (computing, getting data, …) once. For more information on executions, please refer to the Ryax concepts.
Depending on how your workflow is built, the type of events leading to workflow triggering may differ. In the case of the current workflow, the triggering event is the submitting of a form, as indicated by the first module (i.e. “source” module) in our workflow:

Once we deployed our workflow, this first module has been automatically instantiated and is now running, but this module in particular awaits a user action to generate an execution.
Note
Ryax workflows can be triggered by a wide variety of ‘events’, such as timers, user inputs, file watchers, sensor data streams, API calls, etc.
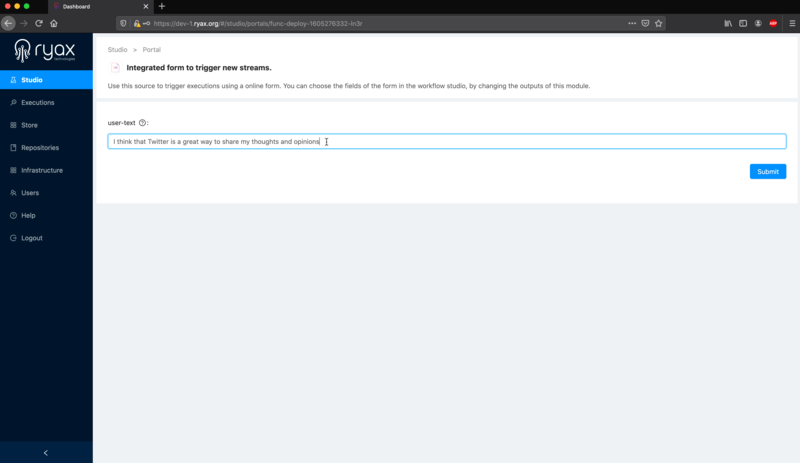
To access the triggering form, click on the “Tweet input form” module, the Setup pane will open. From the “Properties” tab, click the “Integrated form” button:
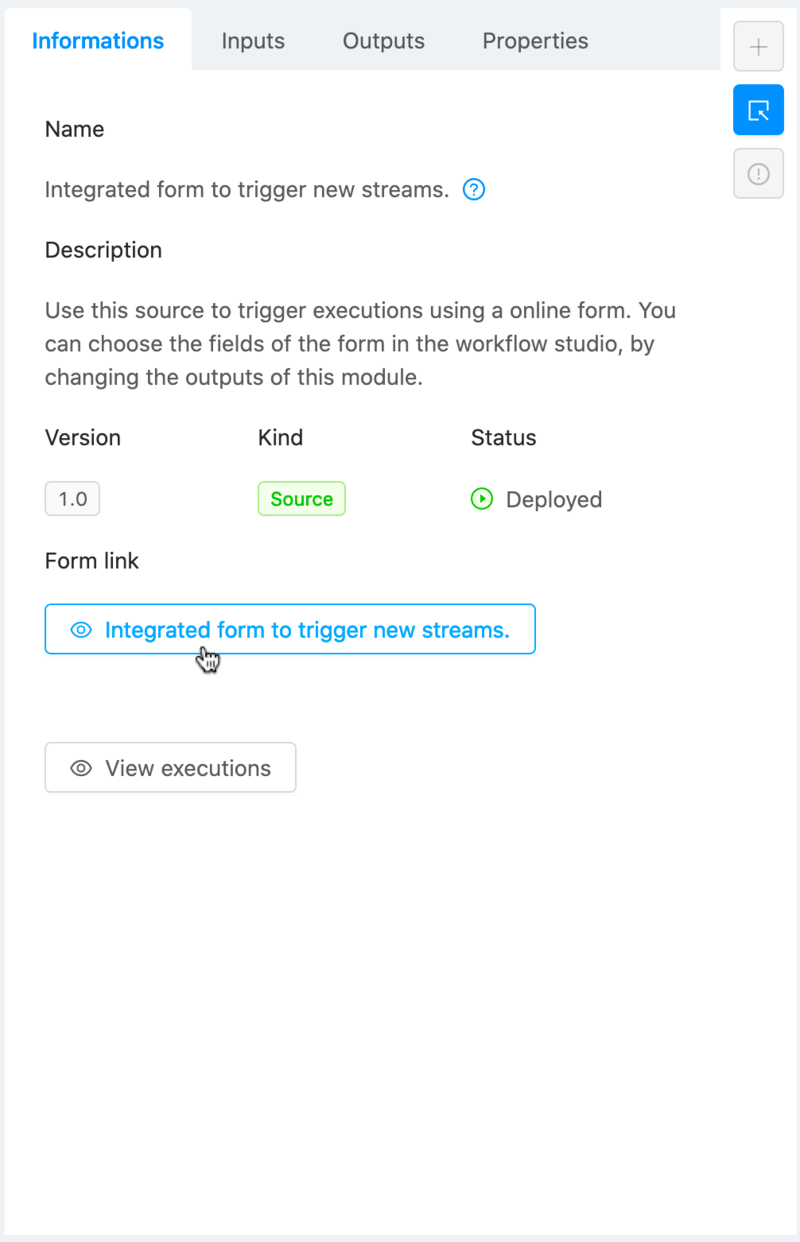
You can then enter any Tweet text and click “submit” to trigger your workflow. Here are Tweet examples for you to test (please enter them separately, with one form submission per Tweet):
I think that Twitter is a great way to share my thoughts and opinions.
Twitter may be the way people cry their hearts out to the world instead of keeping it to themselves.
What happened of pocketbooks and poet diaries when we have Twitter now?
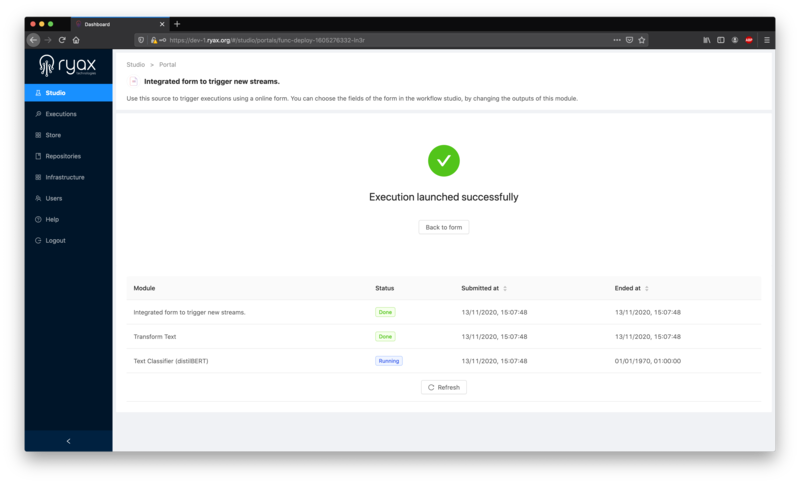
Upon submitting, a confirmation message will display, and the successive executions of each module in the workflow will display in a list at the bottom:
You can also access the triggering form from the Studio list, by clicking on the Execution button to the right of the workflow’s row:

You can repeat this process several times with the supplied examples or with your own Tweets, each “Submit” generating a single execution for each module in the workflow from end to end.
Now that your workflow has been deployed and triggered in production, let’s observe its executions and at last(!) its results.
Assessing workflows’ executions
Now that our workflow is deployed and we have understood how and when it is triggered, let’s have a look at the executions it generates. We’ll follow the natural downstream direction of the workflow, step by step until we reach the final results it generates.
To have a look at your workflow runs, you can click the “View executions” button at the top of the Studio screen, or click the “Executions” part of the menu to the left:

You’ll then be redirected to this workflow’s execution list:
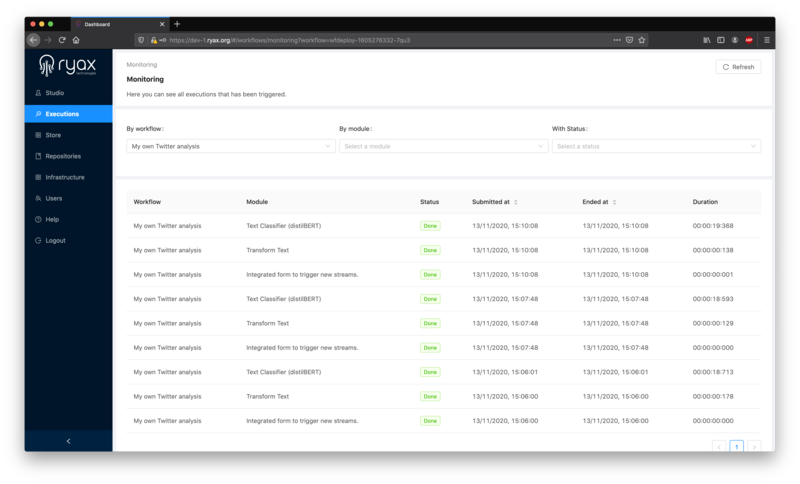
With the list, you’ll be able to access each module’s execution details. Let’s click on any of the “Form” execution in the list:
Form executions
As covered in the Ryax tour, the Execution dashboard provides you with a lot of information about this specific module’s run: when it started, how long it lasted, its current status, its timeline in the context of the whole workflow, its inputs and outputs, etc.
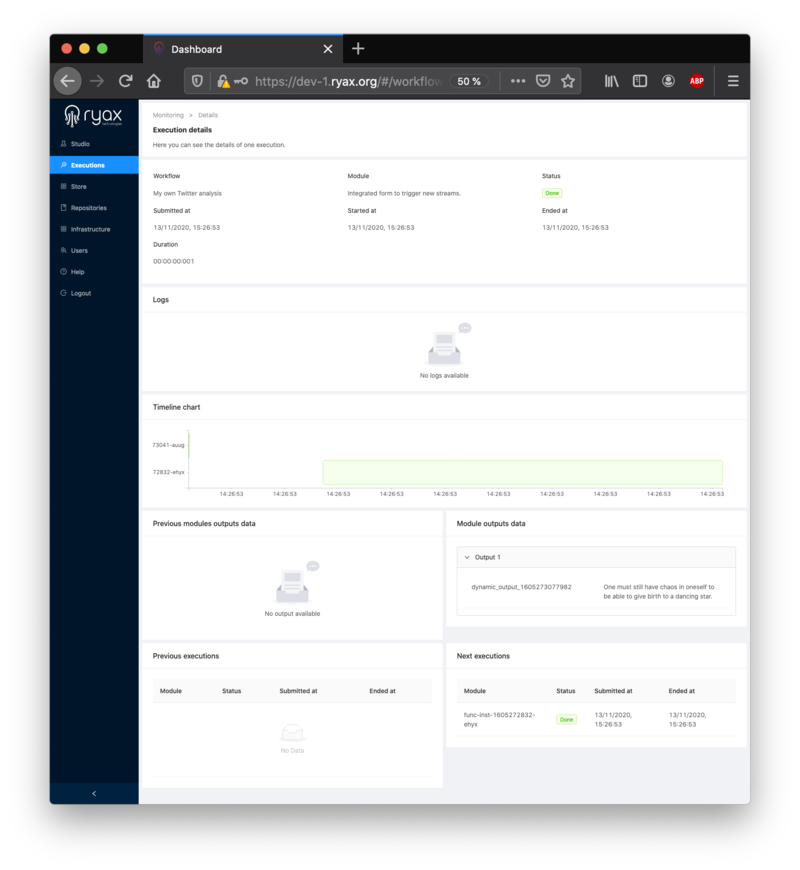
For a simple form source module like this one, the two interesting things we can observe are:
The “outputs” section: displays the actual Tweet we’ve submitted to the form.
The “next executions” section: shows the next execution as per the workflow propagation. By clicking on it, you’ll be able to jump right to it directly from the current execution dashboard.
Transform module executions
Let’s have a look at the next module’s execution, either from the execution list or from the previous module quick link:
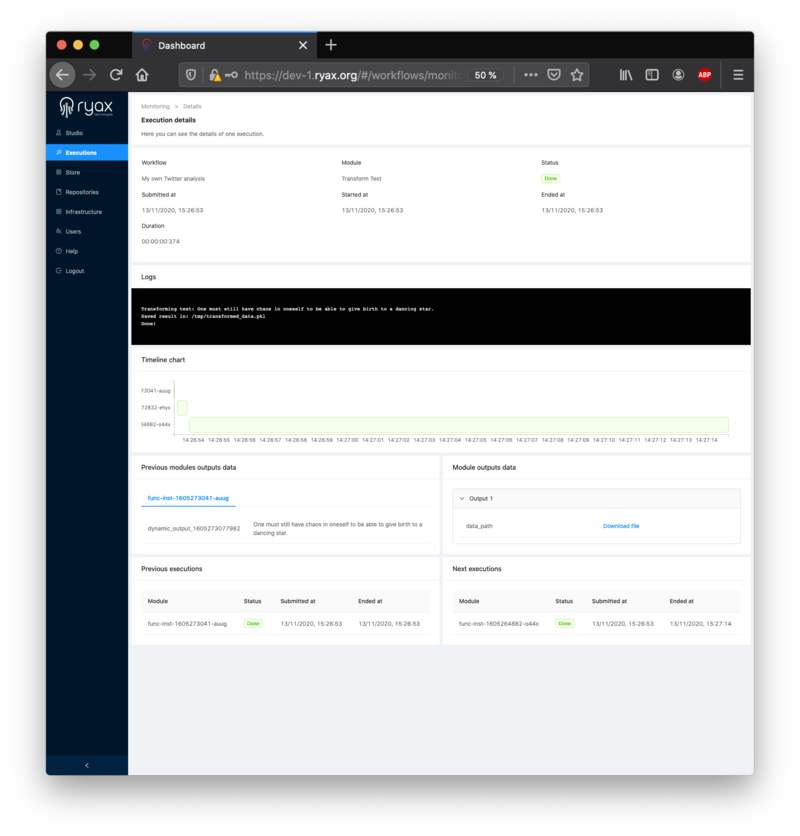
Among other things, what you can note from this module’s execution is:
This module actually prints logs, which you can read directly from Ryax for debug purposes or to ensure that all went well.
Same as before, you can get a quick access to upstream/downstream executions directly from the previous/next panel at the bottom of the dashboard.
Text Classifier executions
Let’s move to our last - and most interesting - module: the processor for text classification.
You will see that the log of this module is much substantial, and provides one way to access the workflow’s result (see the red rectangle at the top):
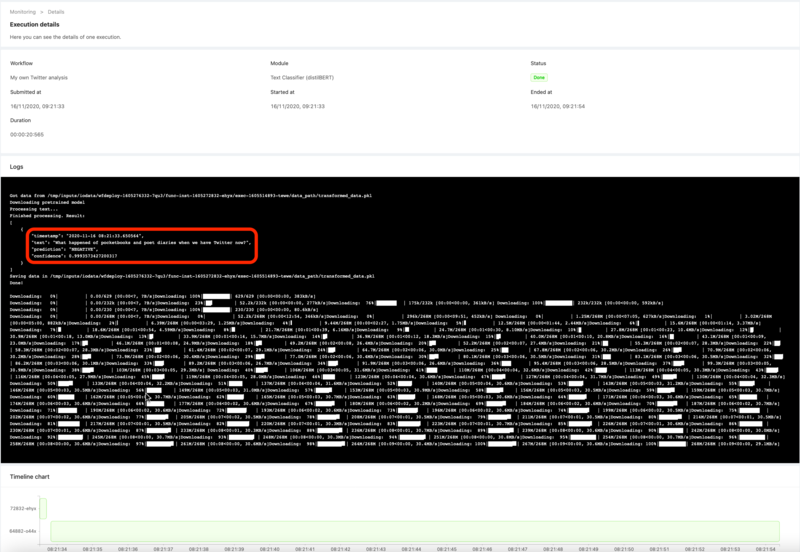
You can read the result of the classification (positive or negative), as well as the confidence index. Any confidence index above 90-95% can be considered a very strong prediction.
For example, in the case of the Tweet “What happened of pocketbooks and poet diaries when we have Twitter now?”, the classification is “NEGATIVE” and the confidence index is very high at “99.93573427200317%”.
You can also get a file with the text classification result from the “output” panel:
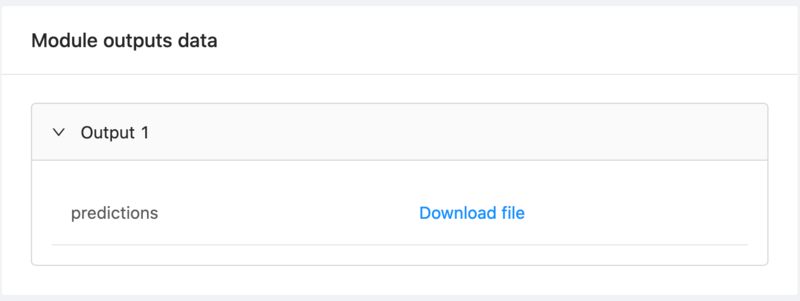
This is a very basic way to access the results of a workflow. In the next example of this guide, we will show you how this can be done in a more industrial way, using the fancier “Publisher” modules.


